The fairy shag haircut represents an ethereal, delicate evolution of the classic retro shag, specifically optimized for wavy hair textures. This haircut blends wispy, feathered perimeter lines with light, cascading crown layers to create a soft, weightless silhouette that frames the facial features. In this comprehensive hair tutorial, you will explore structured methods for sectioning, cutting, texturizing, and styling ten distinct wavy fairy shag variations. You will learn how to evaluate wave patterns, remove unwanted interior bulk without flattening natural movement, and incorporate face-framing fringe elements. Exploring these trending Pinterest ideas provides actionable guidance for anyone seeking a low-maintenance, expressive hairstyle that celebrates organic texture. Understanding how light, feathered tiers interact with natural waves allows you to achieve maximum volume at the crown while maintaining soft, tapered ends at the collarbone or shoulders. This guide delivers clear, step by step instructions to help you select complementary perimeter lengths, use appropriate shear angles, and select the right botanical styling products. Applying these professional techniques results in a balanced, whimsical hair aesthetic that functions effortlessly for both casual daily routines and formal occasions.
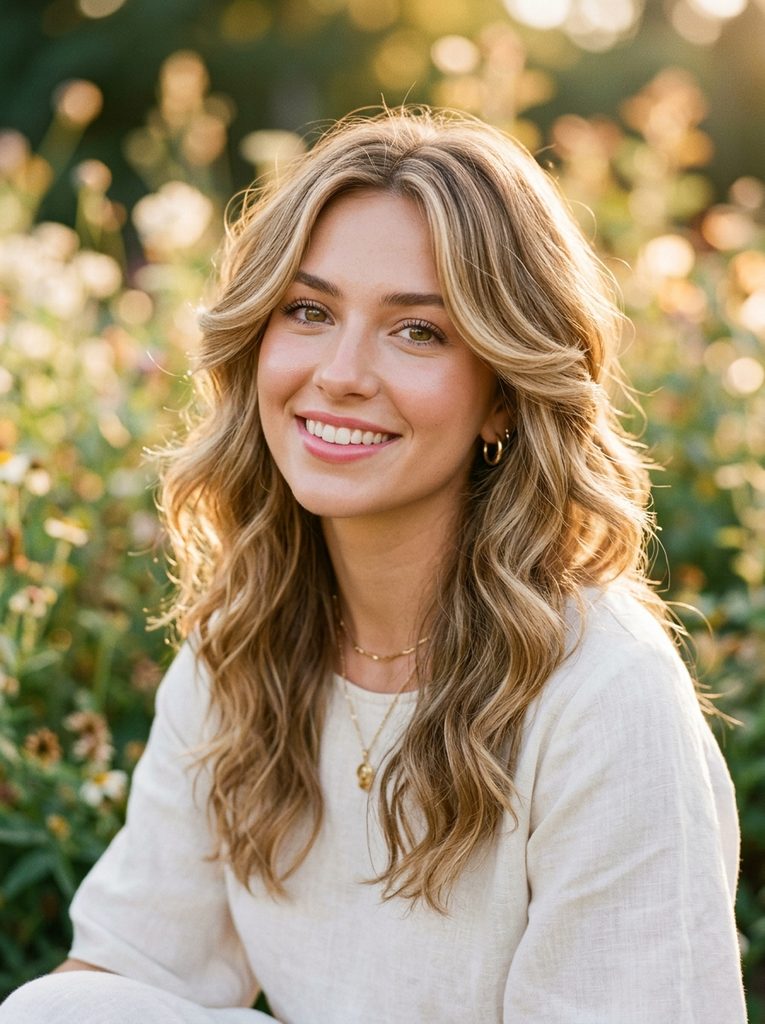
Why Wavy Fairy Shags Are Trending
The wavy fairy shag continues to surge across digital beauty platforms because it perfectly balances vintage rock textures with soft, romantic aesthetics. Contemporary lifestyle routines prioritize manageable, air-dried silhouettes that require minimal daily heat styling while maintaining an intentional, polished shape. The fairy shag fulfills this demand by utilizing delicate internal weight removal to encourage natural wave definition, bounce, and root lift. These trending ideas dominate modern style inspiration because the haircut adapts effortlessly to various hair densities, from fine strands that need volume to thick manes requiring weight relief. Unlike blunt bobs or heavy traditional shags, the fairy variation features softer, tapered perimeters that feel lightweight around the neck and shoulders. The style provides an accessible option for individuals wanting a creative, transformative change without committing to extreme short crops like standard pixies. Additionally, the multi-tiered layering beautifully highlights subtle hair color techniques such as pastel toning, balayage, and dimensional babylights. By merging easy practicality with whimsical visual appeal, the wavy fairy shag stands out as a versatile staple in modern hair styling.
Essential Tools, Products, and Sectioning Preparation
Achieving an accurate fairy shag requires proper tool selection, product preparation, and systematic hair analysis before cutting or styling begins. The primary materials required include professional Japanese steel cutting shears, a guarded texturizing razor, fine-toothed cutting combs, duckbill sectioning clips, a microfiber towel, and a wide-nozzle air diffuser. Cleansing the hair with a hydrating, sulfate-free shampoo followed by a lightweight moisture conditioner prepares the wave cuticle for clean slicing without heavy residue. Towel-dry hair to eighty percent dampness, then mist a leave-in detangling spray across mid-lengths to ensure smooth comb passage without stretching wet strands. Before sectioning, analyze the natural wave pattern, natural hair fall, and density variations across the scalp to establish an optimal elevation map. Divide the hair into four main quadrants: two front radial sections separated by a center part, a top crown horseshoe section, and an occipital nape section. Proper planning ensures that internal layers blend smoothly into the feathered perimeter, preventing uneven gaps or blocky weight lines across the finished haircut.
1. Whispering Pixie-Fairy Wavy Shag
Step-by-Step Guide
The whispering pixie-fairy wavy shag merges the cropped perimeter of an extended pixie with the disconnected, feathered layering of a classic shag. This design features short, wispy ear pieces and a feathered nape baseline that transitions upward into soft, voluminous crown waves. The overall structure removes heavy density around the lower perimeter while maximizing movement through the upper parietal ridge. By focusing texture across the top and sides, this cut highlights cheekbone contours and jawlines with precision. It is an exceptional choice for fine-to-medium wavy hair, as the close-cropped lower perimeter provides the visual illusion of thicker, fuller hair across the crown. When dry, the waves fall into soft, touchable clusters that project an airy, effortless charm.
To execute this cut, isolate the nape section and establish a soft, point-cut perimeter along the natural hairline using straight shears angled at forty-five degrees. Release the parietal side sections, over-directing the strands forward toward the ears and slicing lightly with a guarded razor to create wispy sideburn tendrils. Elevate the entire crown section vertically to ninety degrees from the head, point-cutting the ends to create light, rounded tiers that blend down toward the nape. Work a nickel-sized amount of lightweight curl-defining mousse from the roots through the wavy lengths using your fingertips. Attach an air diffuser to your blow dryer, holding the bowl under the crown on low heat to encourage natural wave formation and weightless root lift.