
10 Nail Extensions Acrylic Ideas

If you love long, sculpted, perfectly shaped nails that instantly elevate your entire look, then acrylic nail extensions are your ultimate beauty power move. Acrylic nails have been a salon favorite for years — and for good reason. They’re durable, customizable, and incredibly versatile when it comes to shape, length, and design.
From minimalist nude styles to bold statement sets covered in rhinestones, acrylic nail extensions allow you to express your personality in the most creative way possible. They’re perfect for weddings, birthdays, vacations, festivals, date nights, or simply when you want your hands to look flawless every day.
One of the biggest reasons acrylic nails remain so popular on Pinterest is because of their endless design possibilities. You can experiment with ombré effects, French tips, glitter finishes, marble art, 3D embellishments, chrome effects, and much more. Acrylic extensions also allow you to shape your nails into coffin, almond, stiletto, square, or ballerina styles — creating a customized look that suits your vibe.
In this detailed Pinterest-style guide, you’ll discover 10 acrylic nail extension ideas, each explained in depth. Every idea includes styling inspiration, step-by-step guidance, and a full materials list so beginners can understand the process clearly.
Whether you love soft and classy or bold and dramatic — there’s a design here you’ll want to screenshot and save immediately.
Let’s dive into these stunning acrylic nail extension ideas.
1. Classic Nude Acrylic Extensions
The classic nude acrylic extension is timeless, elegant, and effortlessly chic. Nude nails complement every outfit, skin tone, and occasion. They elongate the fingers visually and create a clean, polished appearance.
What makes nude acrylic nails so popular is their versatility. You can keep them glossy for a professional look or opt for a matte finish for modern minimalism. Almond or coffin shapes work beautifully with nude tones because they enhance finger length.

This design is perfect for brides, corporate professionals, and anyone who loves understated beauty.
How To
Start by prepping natural nails — push back cuticles, buff the surface, and cleanse with alcohol. Apply nail forms or glue nail tips to extend the length.
Mix acrylic powder with monomer liquid and apply beads to sculpt the extension. Shape carefully and allow to dry completely. File into your desired shape (almond or coffin works well).
Apply nude gel polish evenly and cure under UV/LED lamp. Finish with top coat and cure again. Lightly apply cuticle oil for hydration.
Materials Used
- Nail tips or forms
- Acrylic powder (clear or nude)
- Monomer liquid
- Acrylic brush
- Nail file and buffer
- Nude gel polish
- UV/LED lamp
- Top coat
- Cuticle oil
2. French Tip Acrylic Extensions

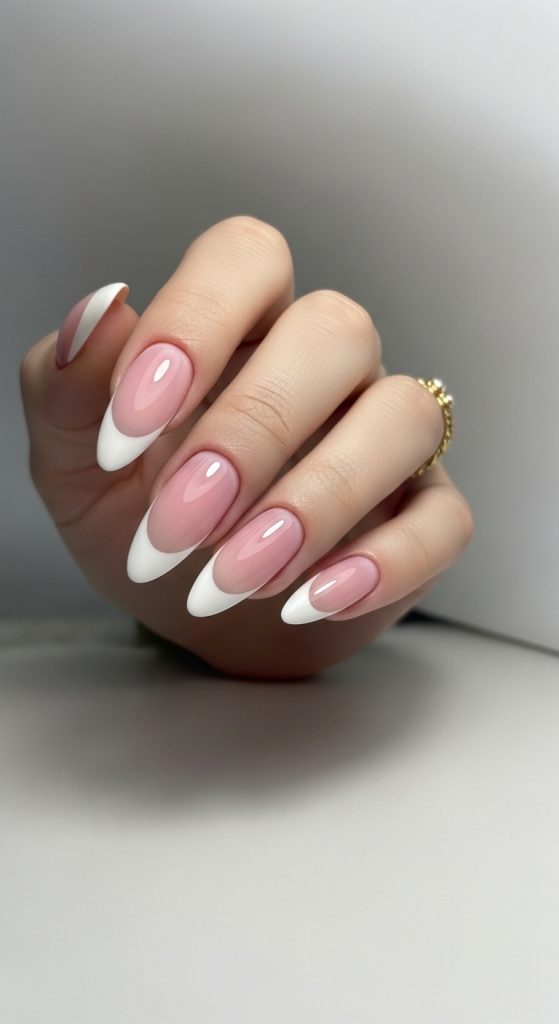
French tips are forever iconic. This design features a neutral base with crisp white tips, offering a clean and feminine finish.
Modern French acrylics can be traditional square or reinvented with almond or coffin shapes. You can even experiment with colored tips instead of white.
This style works for weddings, job interviews, and everyday glam.
How To
Prepare and extend nails using acrylic as described previously. Once shaped and filed, apply a sheer pink or nude base coat and cure.
Using a fine nail brush, paint white tips evenly across each nail. Ensure symmetry for a professional look.
Cure under UV/LED lamp. Apply glossy top coat and cure again.
Materials Used
- Acrylic powder and monomer
- Nail tips/forms
- Sheer pink gel polish
- White gel polish
- Fine nail art brush
- UV/LED lamp
- Top coat
3. Ombre Acrylic Extensions
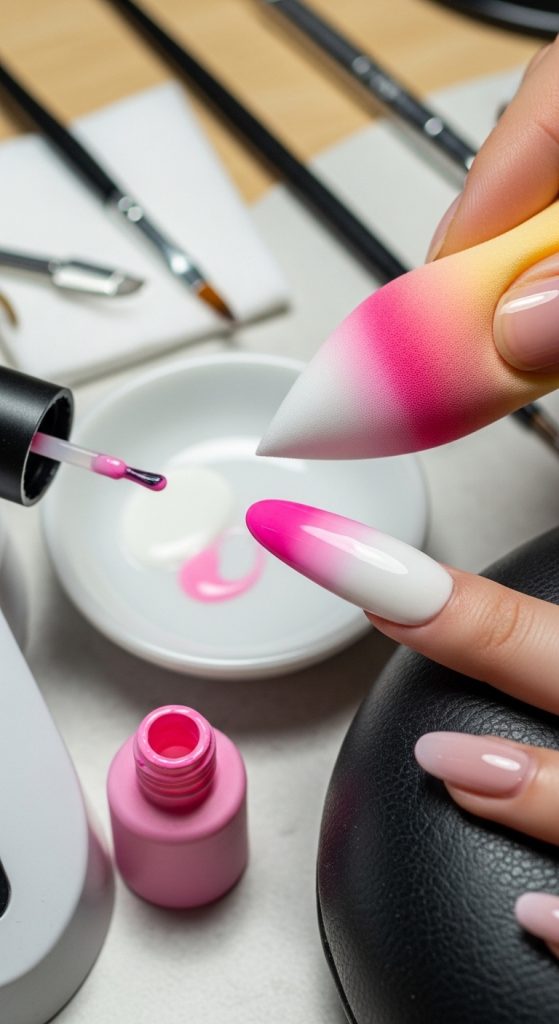
Ombre nails create a seamless gradient from one color to another — typically nude blending into white or pink.
This design looks soft yet sophisticated and is highly popular on Pinterest.
It adds dimension without heavy nail art.

How To
Apply acrylic base extension and file smooth. Use makeup sponge to dab two gel polish shades lightly, blending at the center.
Repeat until gradient appears seamless. Cure under lamp between layers.
Apply glossy top coat to smooth finish.
Materials Used
- Acrylic powder
- Two gel polish shades
- Makeup sponge
- UV/LED lamp
- Top coat
4. Glitter Glam Acrylic Extensions
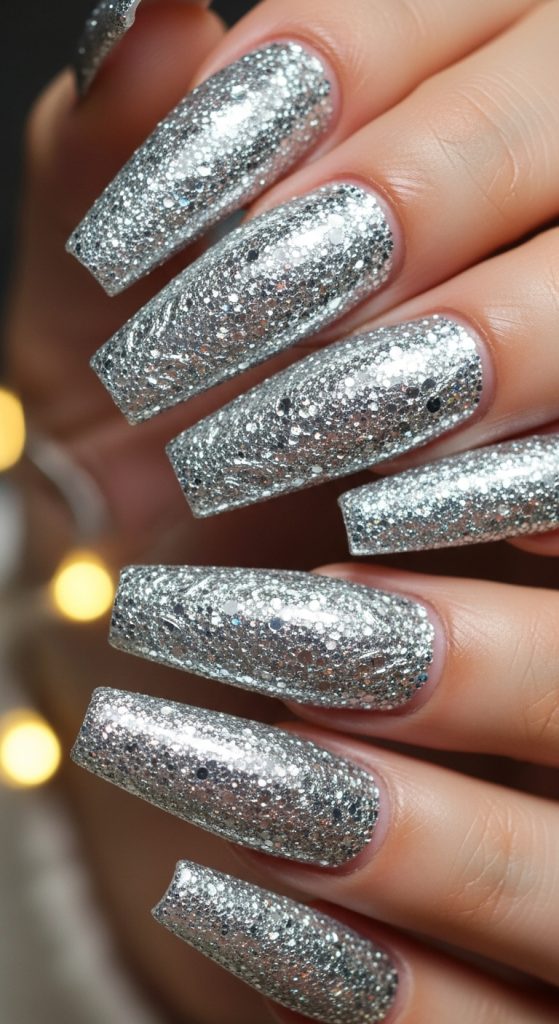
Glitter acrylic extensions are bold, glamorous, and party-ready. Perfect for birthdays, holidays, or special events.
You can use full glitter coverage or accent nails.
How To
Apply acrylic extensions and shape nails. Apply clear base gel polish and sprinkle loose glitter over wet polish.
Cure under lamp. Seal with clear top coat and cure again.
File lightly for smooth finish if needed.
Materials Used
- Acrylic system
- Clear gel polish
- Loose glitter
- Nail brush
- UV/LED lamp
- Top coat
5. Marble Effect Acrylic Nails
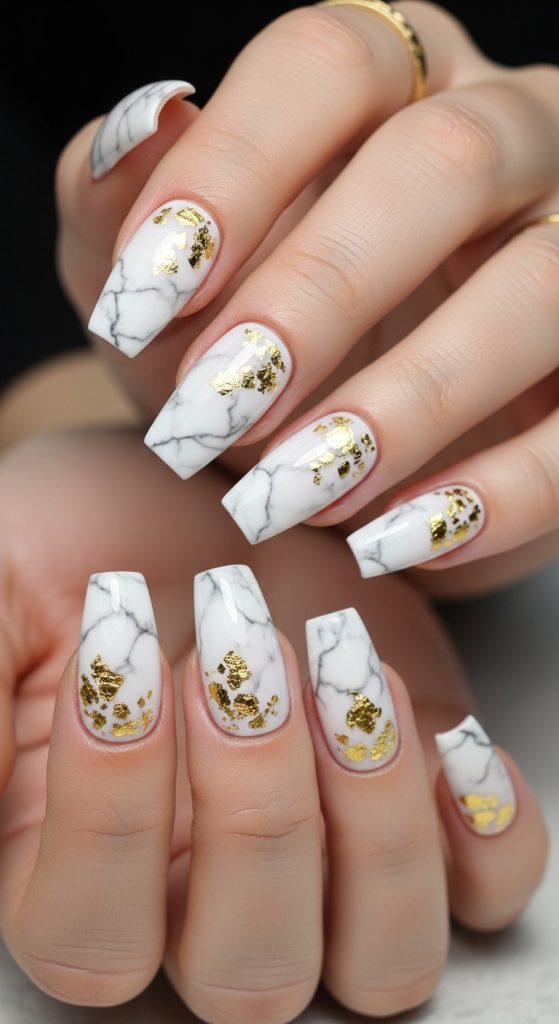
Marble acrylics look luxurious and artistic. The swirling patterns mimic real marble stone.

They pair beautifully with gold foil accents.
How To
Apply white gel base. Use thin brush to add gray veining in light strokes.
Blend slightly before curing for natural marble look.
Add gold foil if desired. Seal with top coat.
Materials Used
- White gel polish
- Gray gel polish
- Fine brush
- Gold foil (optional)
- UV/LED lamp
- Top coat
6. Coffin-Shaped Acrylic Extensions
Coffin shape is dramatic and trendy. It tapers at sides and ends flat.
It suits bold nail art and long extensions.
How To
Sculpt acrylic into long extension. File sides inward slightly and flatten tip.
Smooth and polish with chosen color.
Seal with glossy coat.
Materials Used
- Acrylic powder
- Monomer
- Nail file
- Gel polish
- Top coat
7. Rhinestone Embellished Acrylics
For ultimate glam, rhinestones elevate your acrylic nails instantly.
Perfect for weddings and parties.
How To
After curing base color, apply nail glue or thick gel where stones will sit.
Place rhinestones carefully using tweezers.
Cure and seal edges lightly.
Materials Used
- Acrylic system
- Gel polish
- Rhinestones
- Nail glue
- Tweezers
- UV lamp
8. Matte Finish Acrylic Extensions
Matte acrylic nails offer modern sophistication.

They look especially stunning in deep colors like burgundy or black.
How To
Apply acrylic extension and desired gel color.
Instead of glossy top coat, apply matte top coat.
Cure and hydrate cuticles.
Materials Used
- Acrylic powder
- Gel polish
- Matte top coat
- UV lamp
9. Chrome Acrylic Extensions
Chrome nails reflect light beautifully.
They look futuristic and high-fashion.
How To
Apply base gel and cure. Rub chrome powder over cured gel using applicator.
Seal with top coat and cure again.
Materials Used
- Acrylic system
- Chrome powder
- Applicator sponge
- UV lamp
- Top coat
10. Floral Nail Art Acrylic Extensions
Floral designs add femininity and creativity.
Perfect for spring or romantic themes.

How To
After base color cures, use thin brush to paint small flowers.
Cure design and seal with glossy coat.
Add small rhinestones for center detail.
Materials Used
- Acrylic system
- Colored gel polish
- Nail art brush
- Rhinestones (optional)
- UV lamp
- Top coat


