20 Prom Nails Simple Ideas

Prom night is one of the most exciting and memorable events of the year — and while the dress, hair, and makeup often take center stage, your nails are the small detail that completes the entire look. Simple prom nails are trending more than ever because they offer elegance, versatility, and timeless beauty without overwhelming your outfit. Whether you’re wearing a bold gown, a sleek satin dress, sequins, or something soft and romantic, minimalist nail designs can enhance your overall aesthetic effortlessly.
 SAVE TO PINTEREST
The beauty of simple prom nails lies in their balance. They’re polished but not overpowering. They shine without stealing attention from your dress. They photograph beautifully in close-ups — especially during ring selfies, corsage shots, and holding-your-clutch moments. Clean, soft nail designs also pair well with any makeup style, from natural glam to full evening glam.
Another reason simple prom nails are so popular is practicality. Many of these looks are beginner-friendly, easy to recreate at home, and budget-conscious. You don’t always need complex nail art or extreme embellishments to look stunning. Sometimes, a glossy nude, subtle shimmer, delicate French tip, or soft chrome finish is all you need to feel polished and confident.
In this guide, you’ll find 20 simple prom nail ideas that are elegant, trendy, and Pinterest-worthy. Each design includes a clear explanation, step-by-step application guide, and materials list to help you recreate the look — whether you’re visiting a salon or doing your nails at home.
Let’s begin with Part 1: Ideas 1–10.
1. Classic Nude Gloss Nails
Introduction
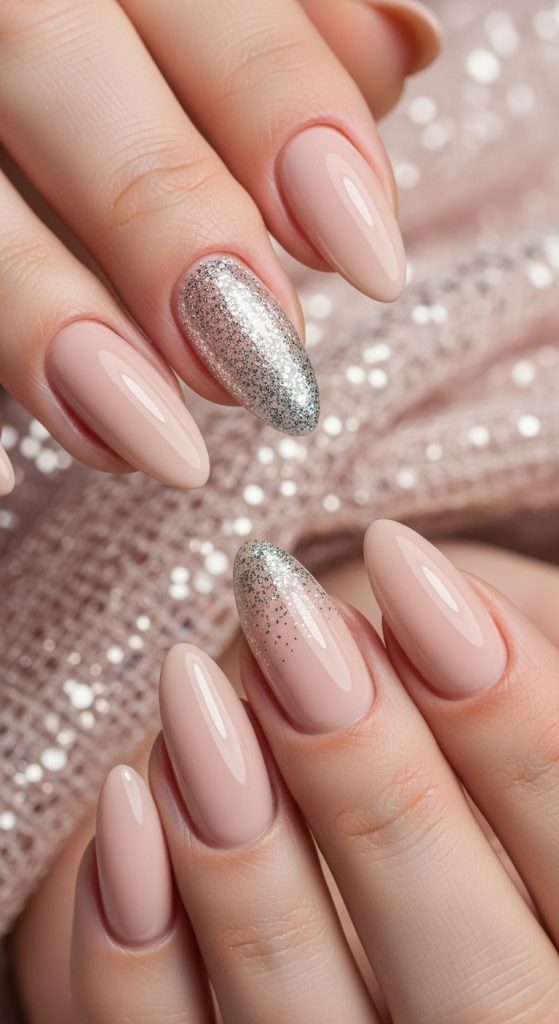
Nude glossy nails are timeless, clean, and incredibly versatile. They match every dress color — black, red, pink, emerald, navy, or metallic. If you’re unsure what nail design to choose, nude gloss is always a safe and elegant option.
This look enhances your natural nails while giving a polished, prom-ready finish.
 SAVE TO PINTEREST
What This Design Is
A smooth, high-shine nude polish on short or medium-length nails.
Step-by-Step How-To
- Shape nails into oval or almond.
- Buff lightly for smooth surface.
- Apply base coat.
- Apply 2 thin coats of nude polish.
- Finish with high-gloss top coat.
- Clean edges with small brush.
Materials Needed
- Nail file
- Buffer
- Base coat
- Nude nail polish
- Glossy top coat
- Cuticle oil
Pinterest Tip: Choose a nude shade that complements your skin undertone.
2. Milky White Almond Nails
 SAVE TO PINTEREST
Introduction
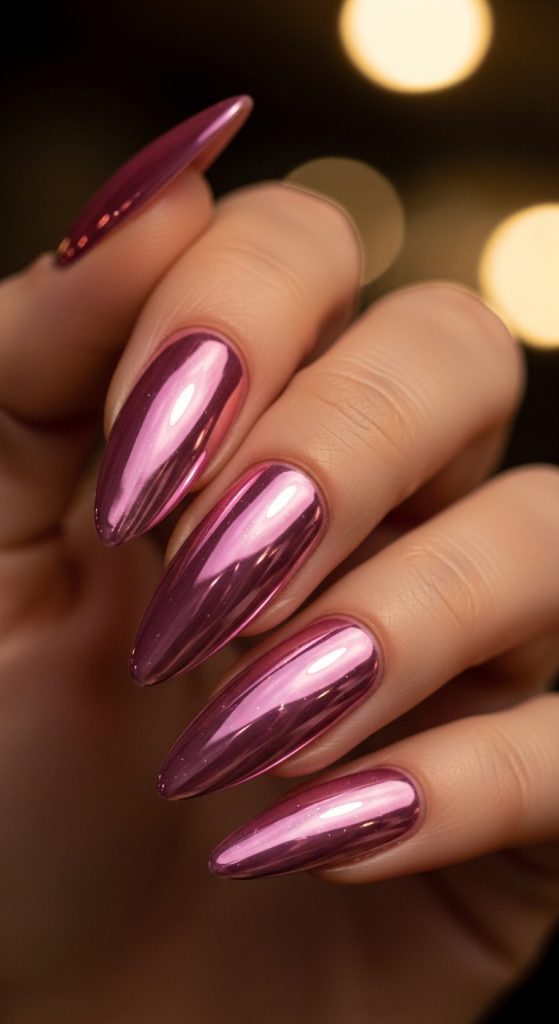
Milky white nails are soft, romantic, and elegant. They look stunning with pastel dresses and floral prom gowns. The creamy semi-sheer finish gives a delicate, clean aesthetic.
What This Design Is
Soft white polish with a translucent milky effect.
Step-by-Step
- File nails into almond shape.
- Apply base coat.
- Apply 2–3 thin layers of milky white polish.
- Seal with glossy top coat.
- Apply cuticle oil.
Materials Needed
- Nail file
- Base coat
- Milky white polish
- Top coat
Pinterest Tip: Milky white looks amazing under flash photography.
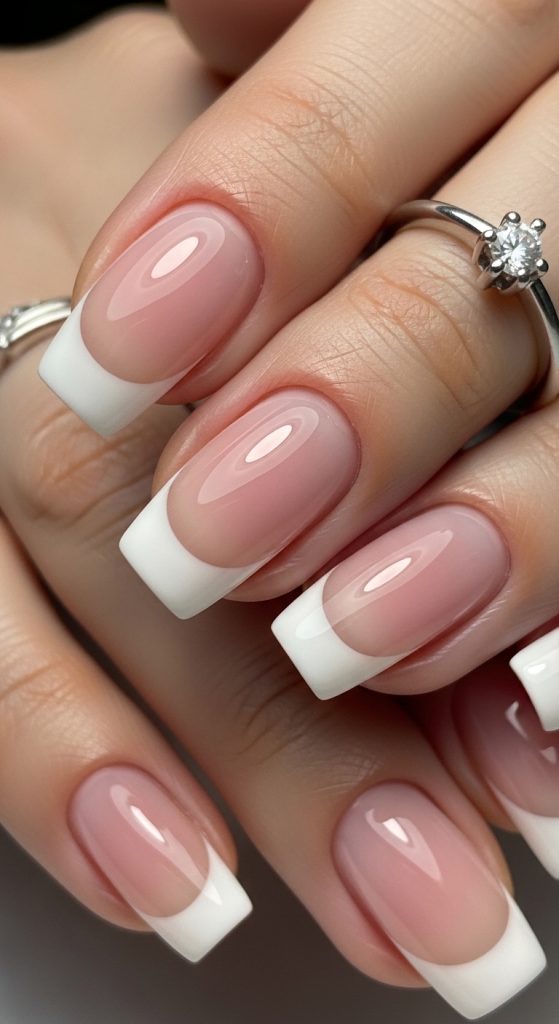
3. Simple French Tip
Introduction
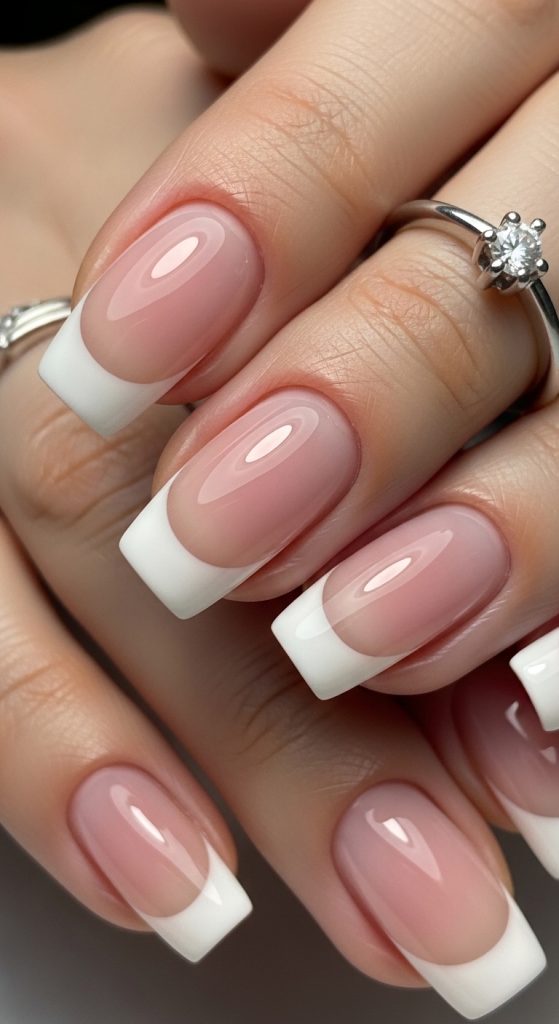
French tips are classic prom nails. They’re clean, structured, and timeless. The thin white tip adds definition without looking busy.
 SAVE TO PINTEREST
What This Design Is
Natural pink base with thin white tips.
Step-by-Step
- Apply sheer pink base.
- Use French tip guide stickers.
- Paint thin white line across tips.
- Seal with glossy top coat.
Materials Needed
- Sheer pink polish
- White polish
- French tip guides
- Top coat
Pinterest Tip: Keep the white line thin for a modern look.
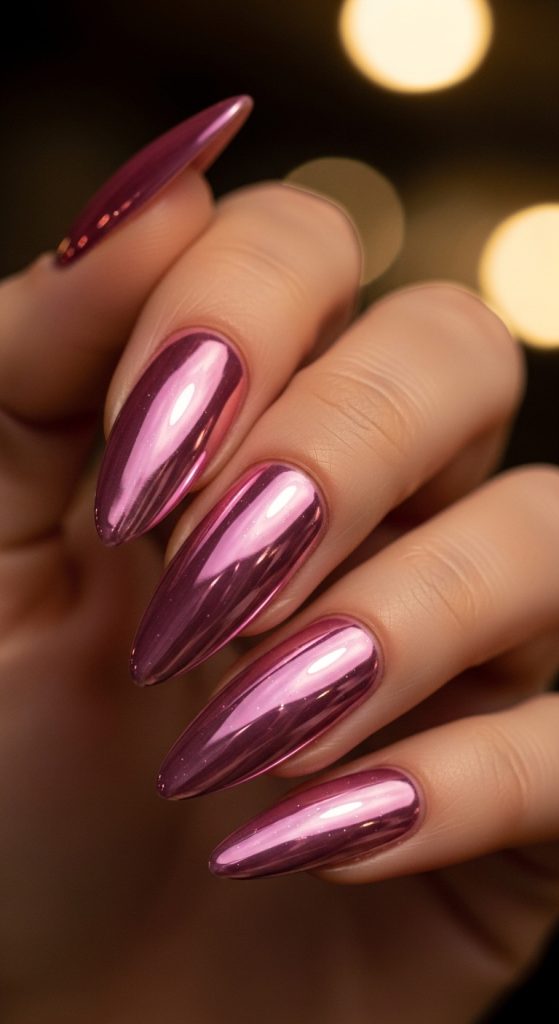
4. Soft Pink Chrome
Introduction
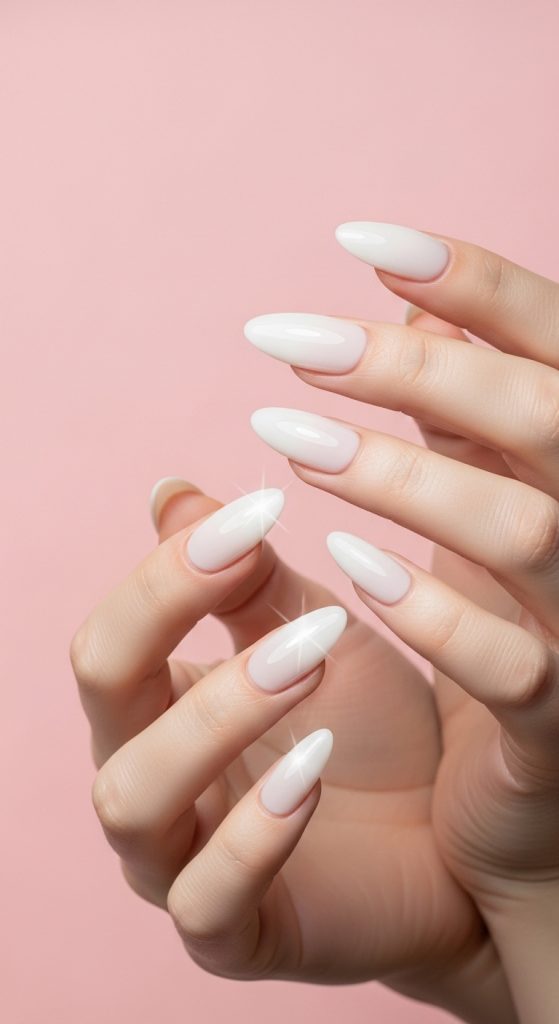
Chrome nails add shine without heavy design. A soft pink chrome finish gives subtle glam perfect for prom night lighting.
 SAVE TO PINTEREST
What This Design Is
Light pink base topped with chrome powder.
Step-by-Step
- Apply pink gel polish.
- Cure under UV lamp.
- Rub chrome powder over nails.
- Seal with no-wipe top coat.
- Cure again.
Materials Needed
- Pink gel polish
- Chrome powder
- UV lamp
- Top coat
Pinterest Tip: Chrome reflects prom lighting beautifully.
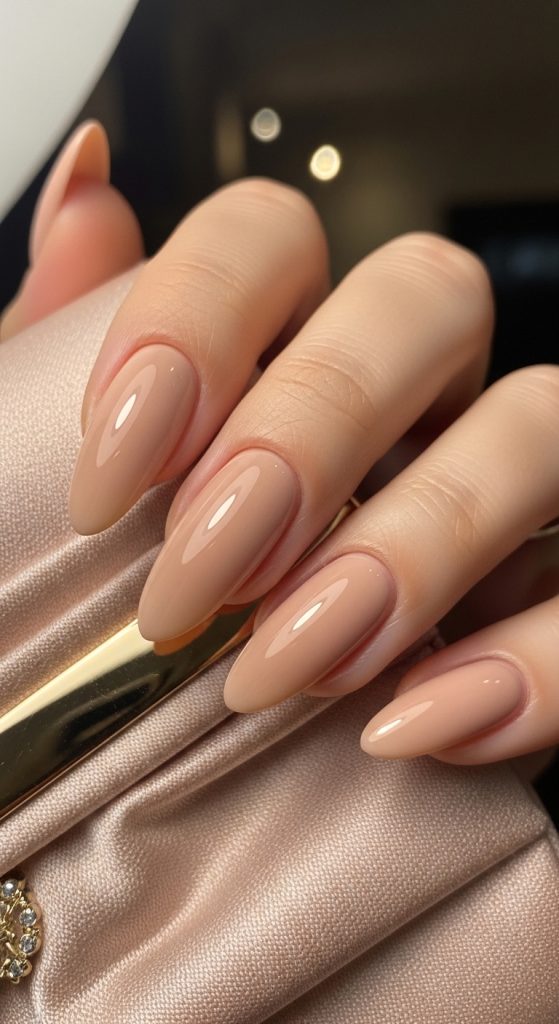
5. Subtle Glitter Accent Nail
Introduction
If you want sparkle without full glitter, try one accent nail. It adds just enough glam without overpowering the look.
What This Design Is
 SAVE TO PINTEREST
Neutral nails with one glitter nail on ring finger.
Step-by-Step
- Paint all nails nude or blush.
- Apply glitter polish to one nail.
- Seal all nails with glossy top coat.
Materials Needed
- Nude polish
- Glitter polish
- Base & top coat
Pinterest Tip: Match glitter to your dress color for cohesion.
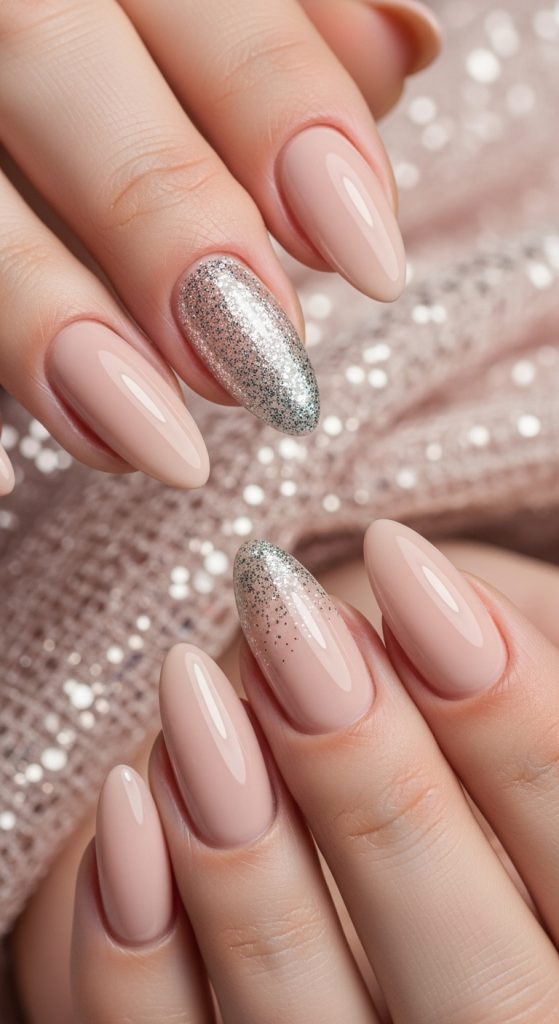
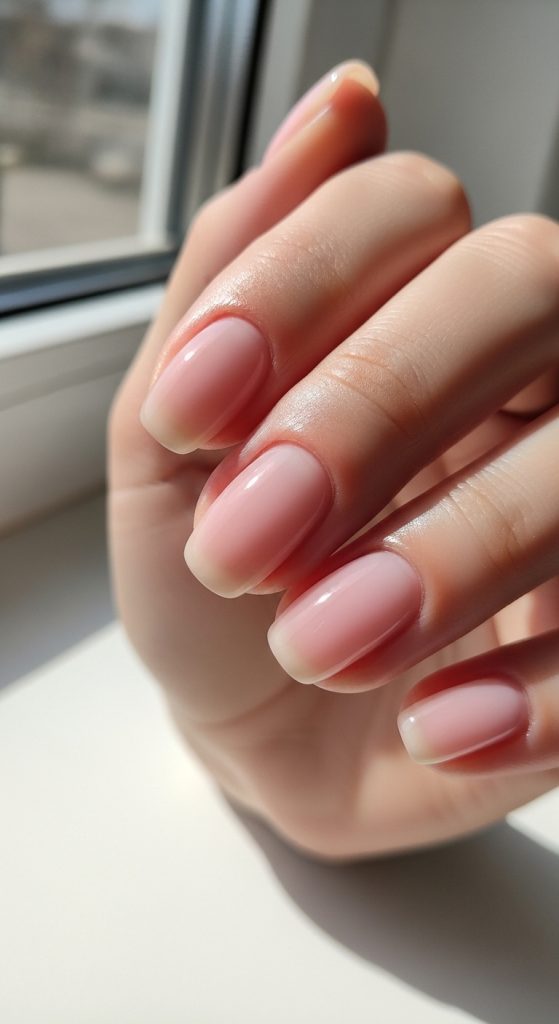
6. Sheer Pink “Your Nails But Better”
Introduction
 SAVE TO PINTEREST
The “your nails but better” look is effortlessly chic and incredibly popular for prom. This design enhances your natural nail color with a soft sheer pink wash, giving a clean, glossy, healthy appearance. It’s ideal if your dress is heavily detailed or sparkly and you want your nails to stay elegant and understated.
This look is especially flattering in photos because it looks polished up close without distracting from rings, corsages, or clutch shots.
What This Design Is
A semi-transparent blush or baby pink polish that enhances the natural nail tone.
Step-by-Step How-To
- File nails into soft oval or almond shape.
- Gently buff the nail surface.
- Apply a strengthening base coat.
- Apply 1–2 thin coats of sheer pink polish.
- Finish with a high-gloss top coat.
- Apply cuticle oil for extra shine.
Materials Needed
- Nail file
- Buffer
- Base coat
- Sheer pink polish
- Glossy top coat
- Cuticle oil
Pinterest Tip: Short almond nails look especially elegant with this style.
7. Minimal Gold Foil Detail
Introduction
Gold foil accents add just a touch of luxury without overwhelming the nail. This simple detail works beautifully with black, emerald, red, or neutral prom dresses. It gives subtle glam while keeping the overall design clean and modern.
This look feels high-end yet simple.
 SAVE TO PINTEREST
What This Design Is
Neutral base polish with tiny gold foil flakes placed near the cuticle or tip.
Step-by-Step How-To
- Apply nude or milky base polish.
- While slightly tacky, place small pieces of gold foil.
- Keep foil minimal — less is more.
- Seal with thick glossy top coat.
- Let dry completely.
Materials Needed
- Nude polish
- Gold nail foil
- Tweezers
- Top coat
Pinterest Tip: Concentrate foil near the cuticle for a delicate jewelry-inspired look.
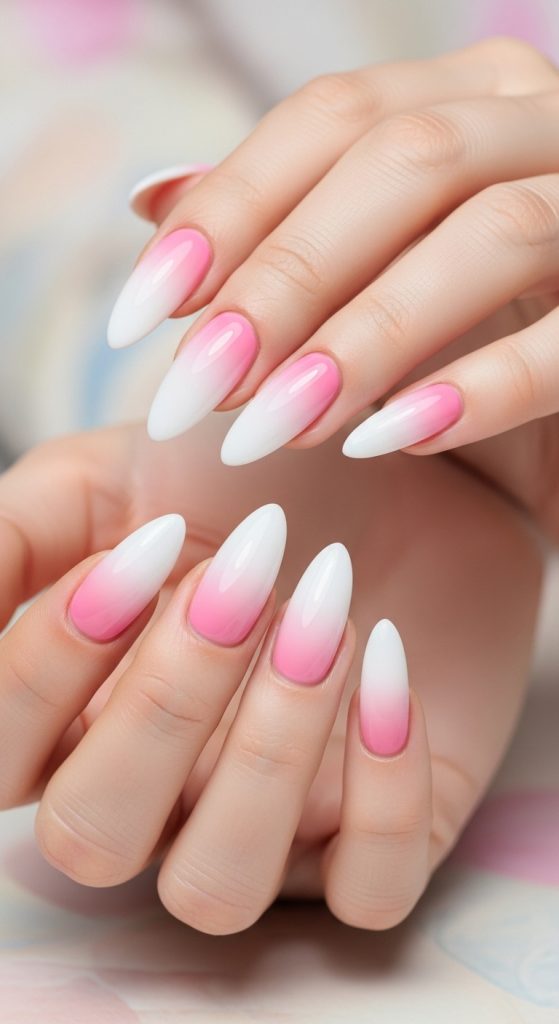
8. Soft Ombre (Baby Boomer Nails)
Introduction
Soft ombre nails — also called baby boomer nails — blend pink and white seamlessly for a dreamy, romantic finish. This design looks soft and bridal-inspired, making it perfect for prom night elegance.
It’s subtle yet more interesting than a basic French tip.
 SAVE TO PINTEREST
What This Design Is
A gradient blend from soft pink at the base to white at the tip.
Step-by-Step How-To
- Apply base coat.
- Paint entire nail soft pink.
- Dab white polish onto sponge.
- Lightly tap sponge onto tips to blend.
- Repeat until gradient is smooth.
- Seal with glossy top coat.
Materials Needed
- Base coat
- Soft pink polish
- White polish
- Makeup sponge
- Top coat
Pinterest Tip: Keep the blend soft and seamless for a professional look.
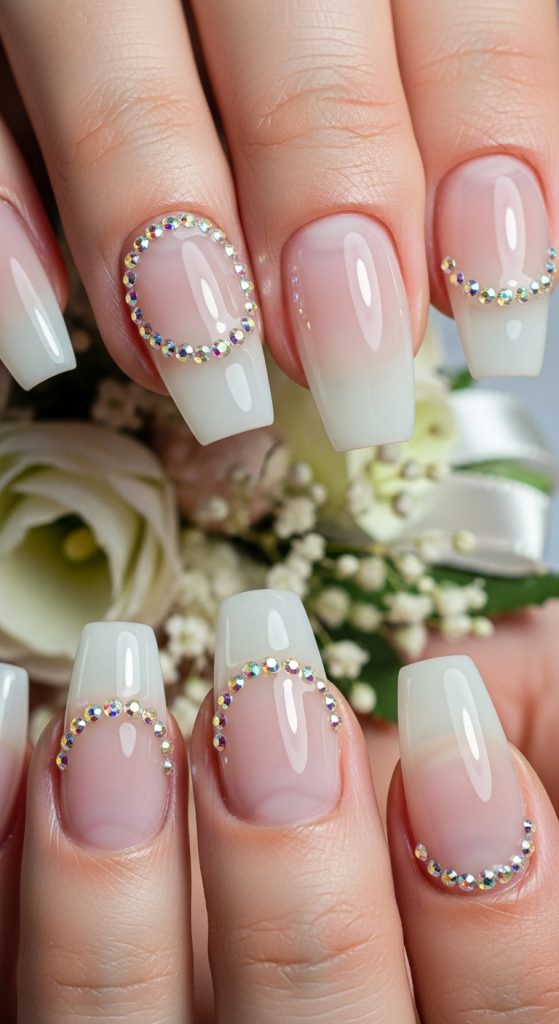
9. Clear Nails with Tiny Rhinestones
Introduction
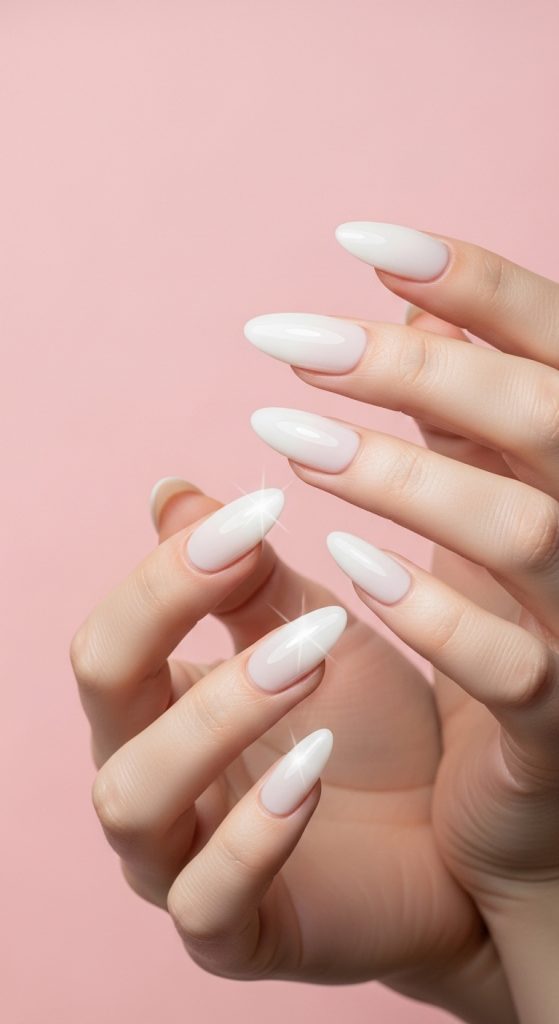
Clear or nude nails with tiny rhinestones create delicate sparkle without full glam overload. This design looks stunning under prom lighting and camera flash while staying minimal and classy.
Perfect if you want subtle sparkle.
What This Design Is
Clear or sheer nude nails with 1–2 small rhinestones per nail.
 SAVE TO PINTEREST
Step-by-Step How-To
- Apply clear or nude polish.
- Place tiny rhinestone near cuticle using tweezers.
- Secure with nail glue or thick top coat.
- Seal carefully around stone with top coat.
- Let dry fully.
Materials Needed
- Clear or nude polish
- Tiny rhinestones
- Tweezers
- Nail glue or thick top coat
Pinterest Tip: Place stones only on accent nails for extra simplicity.
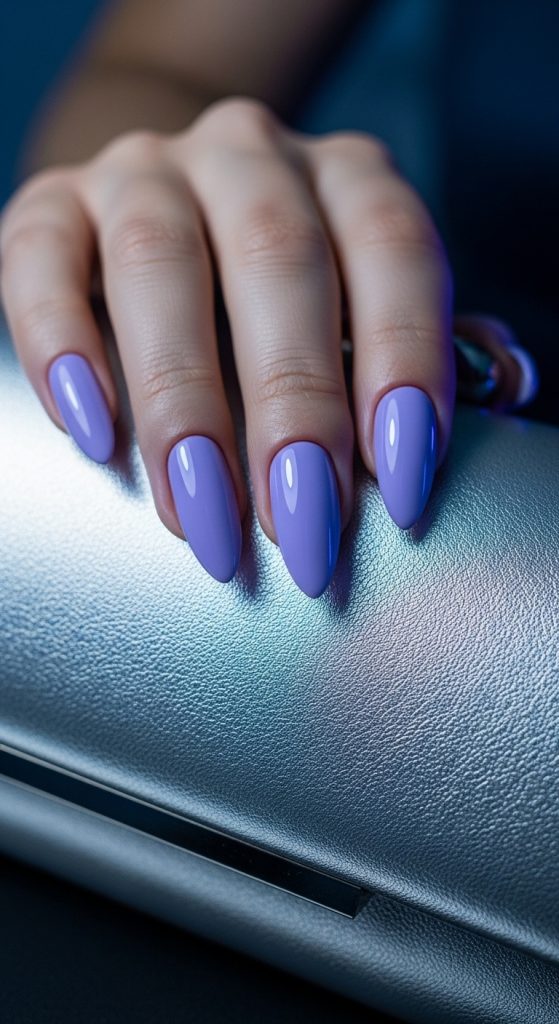
10. Soft Lavender Gloss
Introduction
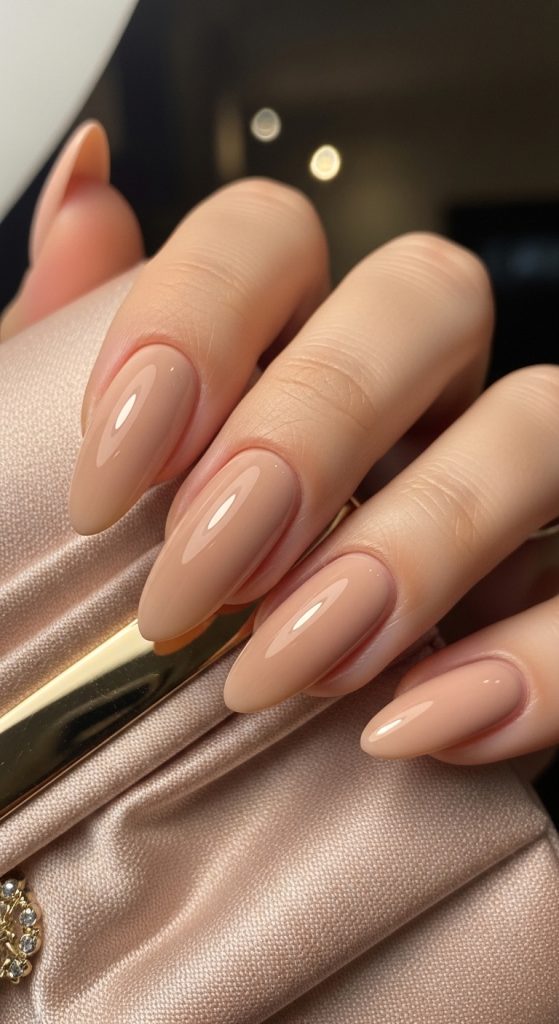
Lavender is soft, trendy, and perfect for spring prom themes. It’s subtle enough to feel simple but still adds color personality. Lavender complements silver jewelry beautifully.
 SAVE TO PINTEREST
This design works especially well with pastel or floral dresses.
What This Design Is
Solid glossy lavender polish on almond or oval nails.
Step-by-Step How-To
- Shape nails evenly.
- Apply base coat.
- Apply 2 thin coats of lavender polish.
- Finish with ultra-gloss top coat.
- Apply cuticle oil for shine.
Materials Needed
- Nail file
- Base coat
- Lavender nail polish
- Glossy top coat
- Cuticle oil
Pinterest Tip: Lavender looks extra elegant on medium-length almond nails.
11. Glossy Chocolate Brown Nails
Introduction
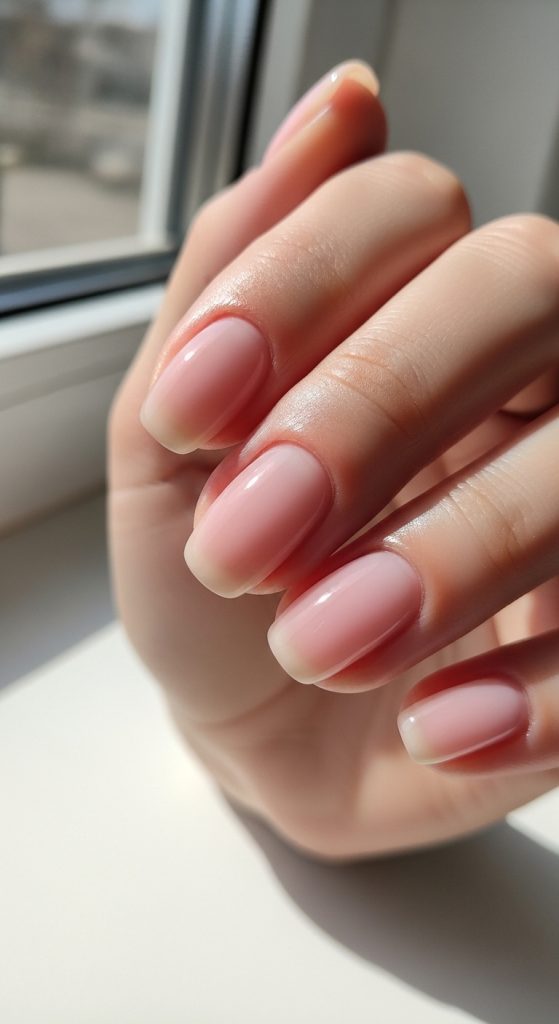
Chocolate brown nails are sleek, modern, and surprisingly elegant for prom. If you’re wearing a neutral, gold, champagne, or satin dress, this rich shade adds depth while staying simple. It feels polished and sophisticated without needing extra embellishment.
 SAVE TO PINTEREST
Brown nails photograph beautifully under warm lighting and complement gold jewelry especially well.
What This Design Is
Solid deep chocolate brown polish with high-gloss finish.
Step-by-Step How-To
- Shape nails into almond or square.
- Apply base coat.
- Apply two thin coats of chocolate brown polish.
- Let dry between layers.
- Seal with glossy top coat.
- Finish with cuticle oil.
Materials Needed
- Nail file
- Base coat
- Brown polish
- Glossy top coat
- Cuticle oil
Pinterest Tip: Keep nails medium length for a classy, balanced look.
12. Silver Micro-Glitter Nails
Introduction
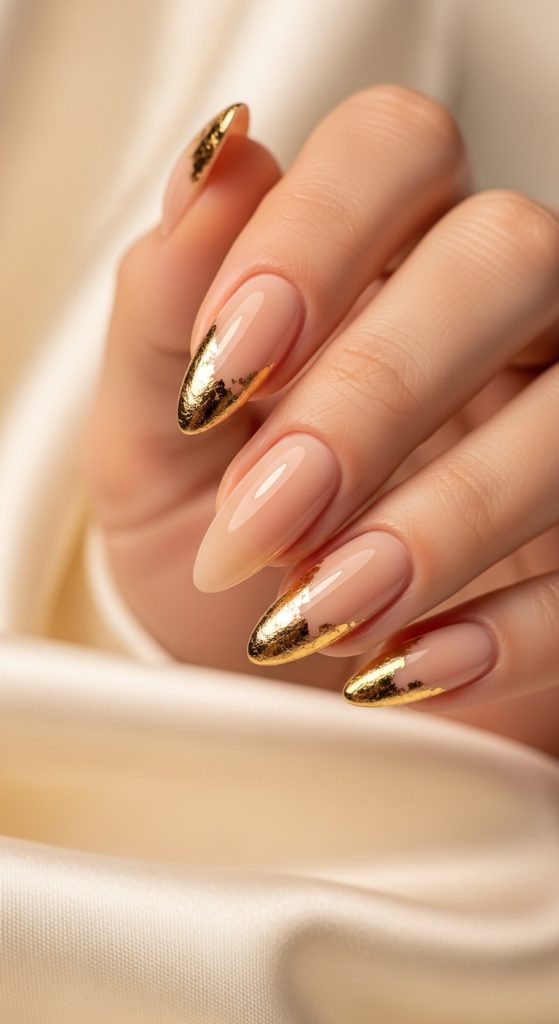
If you want sparkle but still want to keep things simple, micro-glitter polish is the perfect solution. Unlike chunky glitter, fine shimmer gives a soft glow effect rather than bold sparkle.
 SAVE TO PINTEREST
This look pairs beautifully with silver, grey, navy, or black prom dresses.
What This Design Is
Fine silver glitter polish layered lightly over clear or nude base.
Step-by-Step How-To
- Apply nude or clear base polish.
- Apply one thin layer of silver micro-glitter.
- Add second layer for more shine if desired.
- Finish with thick top coat to smooth texture.
Materials Needed
- Nude polish
- Silver micro-glitter polish
- Top coat
Pinterest Tip: Keep glitter thin for a subtle shimmer effect.
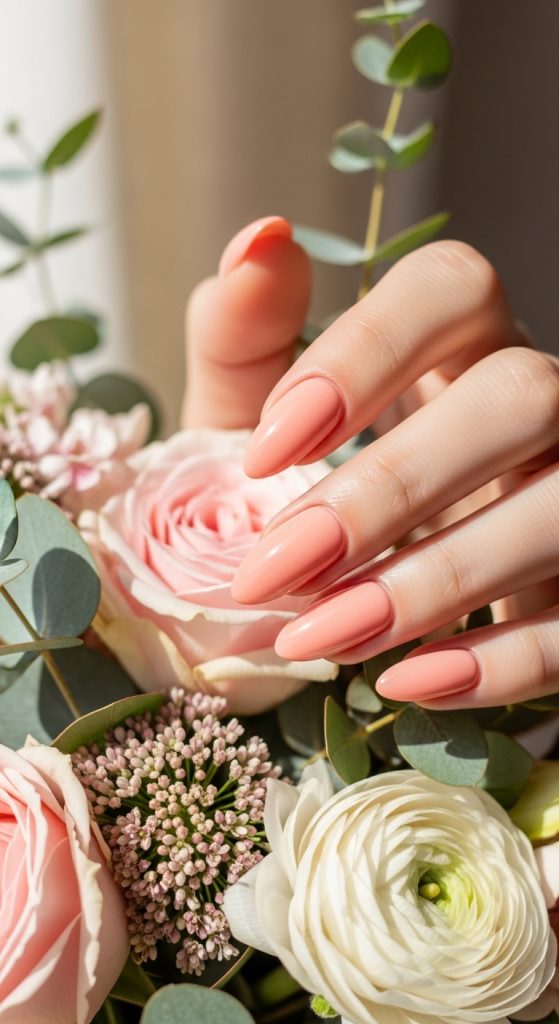
13. Soft Peach Nails
Introduction
 SAVE TO PINTEREST
Peach nails are fresh, flattering, and youthful. They add warmth to your overall look without overpowering your dress. This shade works beautifully for spring prom themes and outdoor photo sessions.
Peach also complements both gold and silver jewelry.
What This Design Is
Solid peach polish with glossy finish.
Step-by-Step How-To
- File and shape nails.
- Apply base coat.
- Apply two coats of peach polish.
- Finish with glossy top coat.
- Apply cuticle oil.
Materials Needed
- Nail file
- Base coat
- Peach polish
- Top coat
Pinterest Tip: Choose soft peach rather than neon for prom elegance.
14. Nude Nails with Thin White Outline
Introduction
This minimalist design adds subtle detail without going over the top. A thin white outline tracing the edge of nude nails creates a modern, clean look that stands out in a very refined way.
 SAVE TO PINTEREST
It’s perfect if you want something unique yet simple.
What This Design Is
Nude base with thin white outline around nail edge.
Step-by-Step How-To
- Apply nude base polish.
- Use thin nail art brush with white polish.
- Carefully trace the edge of each nail.
- Keep lines thin and precise.
- Seal with glossy top coat.
Materials Needed
- Nude polish
- White polish
- Thin nail art brush
- Top coat
Pinterest Tip: Almond shapes enhance this design beautifully.
15. Soft Shimmer Champagne Nails
Introduction
Champagne shimmer nails are classy, glamorous, and subtle all at once. This shade looks amazing under prom lighting and adds a soft glow without bold sparkle.
It pairs especially well with metallic or satin dresses.
 SAVE TO PINTEREST
What This Design Is
Light champagne shimmer polish with glossy finish.
Step-by-Step How-To
- Shape nails into oval or almond.
- Apply base coat.
- Apply 2 thin coats of champagne shimmer polish.
- Seal with top coat.
- Apply cuticle oil.
Materials Needed
- Nail file
- Base coat
- Champagne shimmer polish
- Glossy top coat
Pinterest Tip: Keep shimmer fine and smooth for an elegant look.
16. Classic Short Red Nails
 SAVE TO PINTEREST
Introduction
If you want timeless glam, short red nails are always a strong choice. Unlike long dramatic red nails, keeping them short makes the look simple and chic.
Red works beautifully with black, white, gold, or silver dresses.
What This Design Is
Short square or oval nails painted classic red.
Step-by-Step How-To
- Shape nails short and even.
- Apply base coat.
- Apply two coats of red polish.
- Seal with glossy top coat.
- Clean edges with small brush.
Materials Needed
- Nail file
- Base coat
- Red polish
- Glossy top coat
Pinterest Tip: Choose blue-toned red for a brightening effect.
17. Clear Gloss Nails
Introduction
Sometimes the most elegant choice is completely clear, high-shine nails. This ultra-minimal look keeps your focus on your dress and accessories while still looking polished.
Perfect for bold or highly detailed gowns.
What This Design Is
Natural nails with clear strengthening polish and glossy top coat.
Step-by-Step How-To
- Buff nails gently.
- Apply strengthening clear base.
- Add glossy top coat.
- Apply cuticle oil.
 SAVE TO PINTEREST
Materials Needed
- Nail buffer
- Clear strengthening polish
- Glossy top coat
- Cuticle oil
Pinterest Tip: Focus on perfect shaping for a clean finish.
18. Soft Grey Nails
Introduction
Soft grey nails are modern and understated. This neutral shade looks sleek and works beautifully with silver accessories.
It’s subtle but more unique than traditional nude.
 SAVE TO PINTEREST
What This Design Is
Solid light grey polish with glossy finish.
Step-by-Step How-To
- Shape nails evenly.
- Apply base coat.
- Apply two coats of light grey polish.
- Finish with glossy top coat.
 SAVE TO PINTEREST
Materials Needed
- Nail file
- Base coat
- Grey polish
- Top coat
Pinterest Tip: Light grey pairs beautifully with silver jewelry.
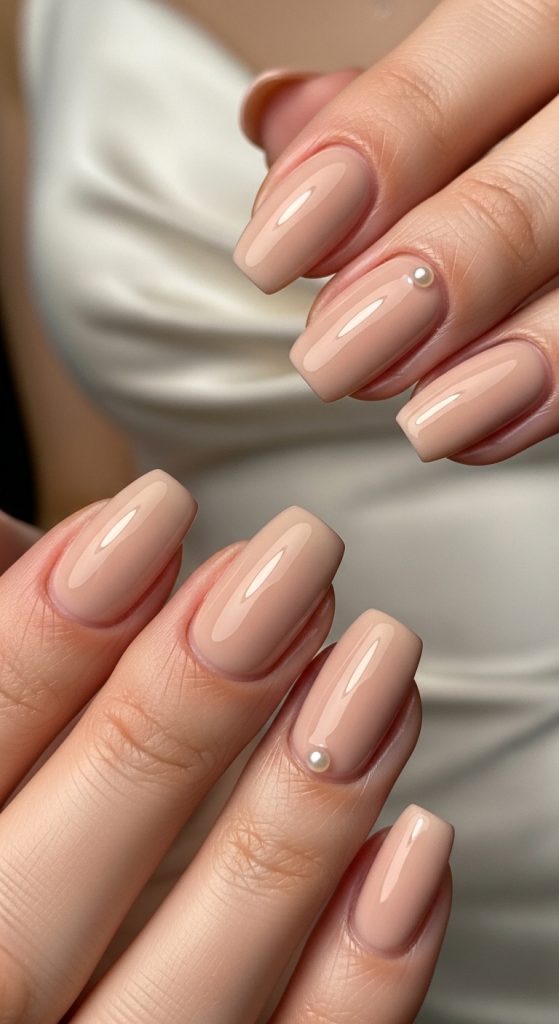
19. Nude Nails with Tiny Pearl Accent
Introduction
Tiny pearl accents add soft elegance without heavy sparkle. This delicate detail feels formal and romantic — perfect for prom.
Pearls complement satin and lace dresses beautifully.
What This Design Is
Nude nails with one small pearl near cuticle on accent nails.
Step-by-Step How-To
- Apply nude polish.
- Place small pearl on ring finger.
- Secure with nail glue.
- Seal lightly around pearl with top coat.
Materials Needed
- Nude polish
- Tiny nail pearls
- Nail glue
- Top coat
Pinterest Tip: Keep pearls small for refined elegance.
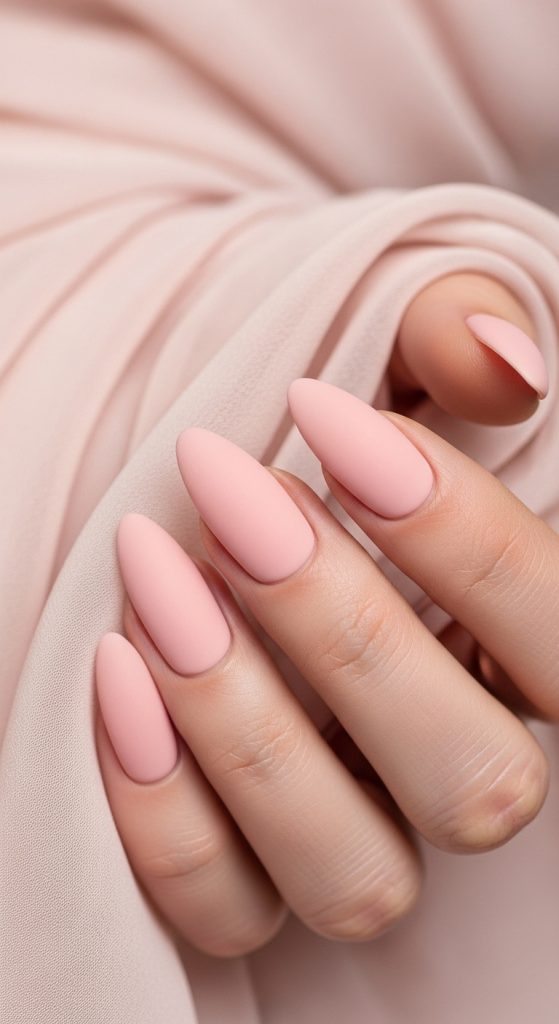
20. Soft Blush Pink Matte
Introduction
Matte blush pink nails are soft, romantic, and modern. The matte finish adds subtle sophistication while staying simple.
 SAVE TO PINTEREST
This look works especially well with satin or chiffon prom dresses.
What This Design Is
Blush pink polish sealed with matte top coat.
Step-by-Step How-To
- Apply base coat.
- Apply two coats of blush pink polish.
- Let dry completely.
- Apply matte top coat evenly.
- Avoid cuticle oil directly on matte surface.
Materials Needed
- Base coat
- Blush pink polish
- Matte top coat
Pinterest Tip: Matte finishes look best on evenly shaped almond nails.