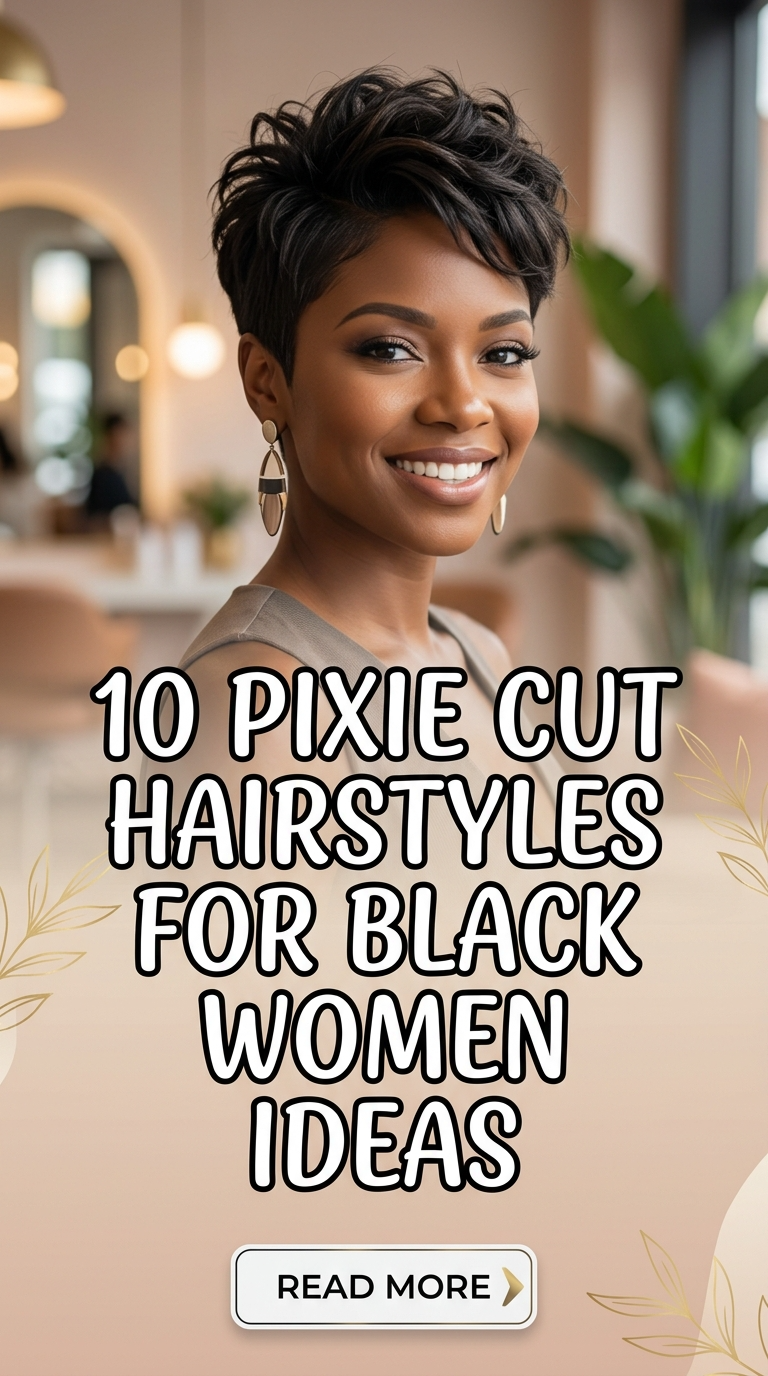
10 Pixie Cut Hairstyles For Black Women Ideas

Pixie cut hairstyles offer a structured, versatile, and low-maintenance option that aligns with modern Pinterest ideas for Black women seeking both style and practicality. These short hairstyles highlight facial features while allowing flexibility in texture, volume, and finish. This article provides a detailed guide to creating and maintaining pixie cut variations that suit different preferences, occasions, and hair textures.
Readers will learn how to approach each hairstyle as a creative project using simple materials, clear step by step methods, and practical styling techniques. The focus remains on achieving defined shapes, balanced proportions, and long-lasting results without relying on complex tools or processes. These styles are designed to be beginner friendly while still delivering polished and professional outcomes. From textured finishes to sleek designs, each idea supports a combination of aesthetic appeal and functional styling. By following this guide, readers can develop consistent routines, improve organization, and explore creative ideas that enhance their overall appearance while maintaining efficiency in daily hair care.
Why This Idea Is Trending or Useful
Pixie cut hairstyles for Black women are widely recognized as trending ideas because they combine simplicity with expressive styling options. Pinterest inspiration in this category highlights natural texture, defined shapes, and easy project techniques that reduce daily styling time. These hairstyles offer practical value by requiring fewer materials and less preparation compared to longer styles, making them suitable for busy routines. The DIY appeal allows individuals to style their hair independently, using accessible tools and straightforward methods. This supports confidence and consistency while reducing reliance on external assistance. Design relevance is another key factor, as pixie cuts align with modern design trends that emphasize clean lines, structure, and minimalist style. These hairstyles also adapt well to different textures, allowing for personalization while maintaining a cohesive look. Accessibility makes them beginner friendly, as most styles can be achieved with basic techniques and minimal experience. This combination of efficiency, adaptability, and aesthetic appeal explains their continued popularity across Pinterest boards focused on beauty, organization, and creative inspiration.
Materials and Preparation
Proper preparation ensures that pixie cut hairstyles achieve a clean and structured finish. Begin by gathering essential materials such as a fine-tooth comb, soft brush, sectioning clips, and heat styling tools if needed. Additional materials may include lightweight styling cream, edge control product, and a flexible hold spray. Clean hair provides the best foundation, so washing and conditioning before styling is recommended. Allow the hair to dry or use a blow dryer depending on the desired texture. Detangling is an important step, as it ensures smooth sectioning and even styling. Planning the hairstyle in advance helps align it with the occasion and personal preference. Consider factors such as hair density, curl pattern, and desired level of volume. Sectioning the hair into manageable parts improves control during the styling process. Practicing techniques beforehand can increase efficiency and reduce errors. Keeping tools organized supports a steady workflow and minimizes interruptions. This preparation stage ensures that each hairstyle can be executed with precision, resulting in a polished and long-lasting appearance.
Idea 1: Textured Natural Pixie
How to Create
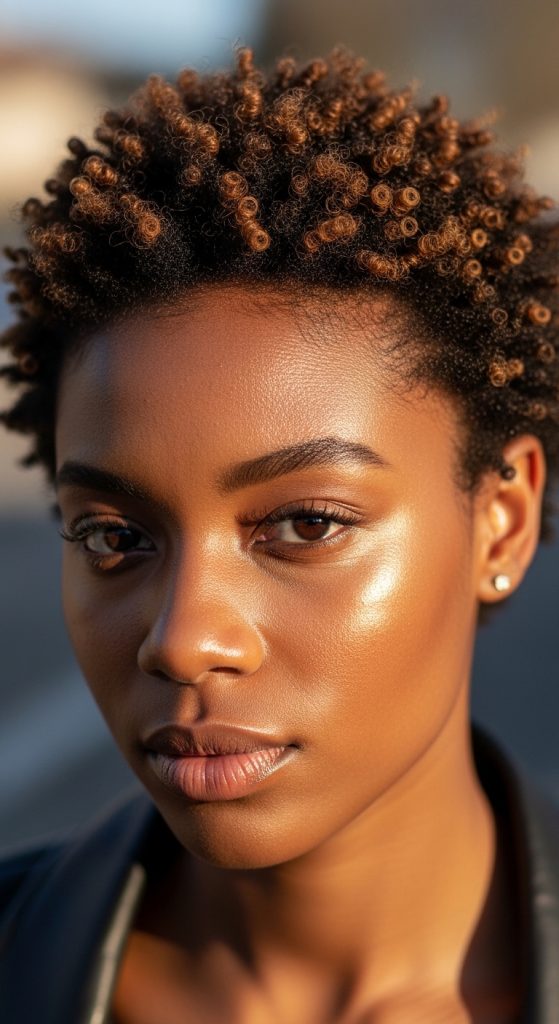
The textured natural pixie focuses on enhancing the natural curl pattern while maintaining a defined and structured shape. This style emphasizes volume and dimension, allowing the hair’s natural texture to create visual interest without excessive manipulation. It aligns with modern Pinterest ideas that prioritize authenticity and minimal intervention. The hairstyle works well for those seeking a balanced look that combines softness with control. It is a beginner friendly option that requires limited tools while still delivering a polished finish. The textured effect adds depth, making the hair appear fuller and more dynamic.

To create this look, start by applying a lightweight styling cream to damp hair. Use your fingers to define the curls, ensuring even distribution of the product. Allow the hair to air dry or use a diffuser to enhance volume. Shape the hair by gently lifting the roots and arranging sections to achieve balance. Focus on defining the top layers while keeping the sides controlled. Finish with a light spray to maintain the structure. This step-by-step method ensures a natural yet refined result.
Idea 2: Sleek Finger Wave Pixie
Step-by-Step Guide
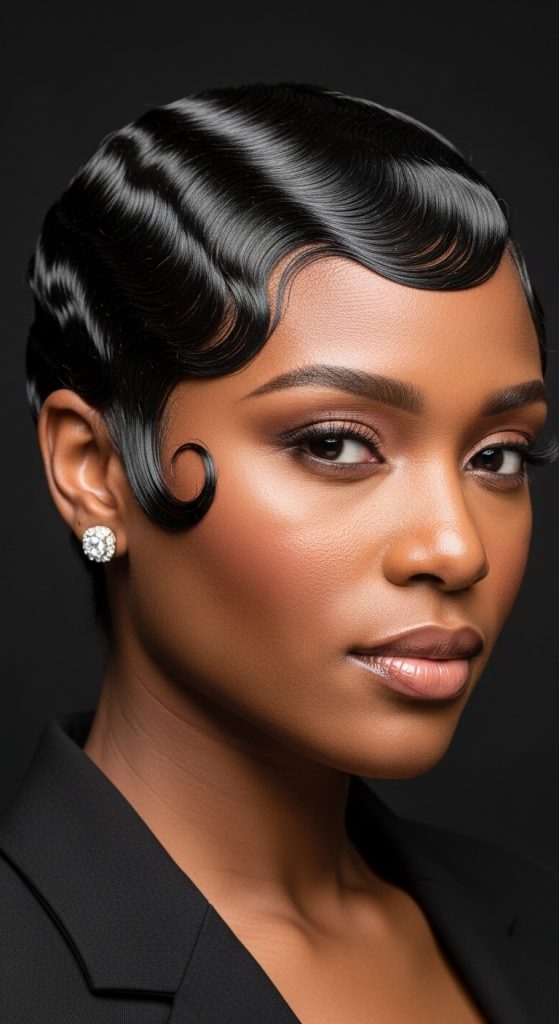
The sleek finger wave pixie offers a structured and classic design characterized by smooth, sculpted waves. This style emphasizes precision and control, creating a polished appearance suitable for formal occasions. It aligns with minimalist style preferences while maintaining a strong visual impact.
Begin by applying a styling gel to damp hair. Use a fine-tooth comb to shape the hair into wave patterns, securing each section with clips. Allow the hair to set completely before removing the clips. Refine the waves gently to maintain their structure. Finish with a holding spray to ensure durability. This method creates a defined and long-lasting style.
Idea 3: Curly Volume Pixie
How to Make
The curly volume pixie enhances fullness by focusing on lift and rounded shape. This style is ideal for creating a soft yet structured appearance that highlights natural curls.

Apply a volumizing product and use a diffuser to dry the hair. Lift the roots to create height and shape the curls evenly. Finish with a light spray. This ensures a balanced and voluminous result.
Idea 4: Side-Swept Pixie Style
Execution Process

The side-swept pixie introduces asymmetry by directing the hair to one side. This creates a dynamic and elegant look that frames the face effectively.
Blow-dry the hair in the desired direction and use a comb to refine the shape. Apply a light product for hold. This method ensures a smooth and controlled finish.
Idea 5: Tapered Edge Pixie
How to Create
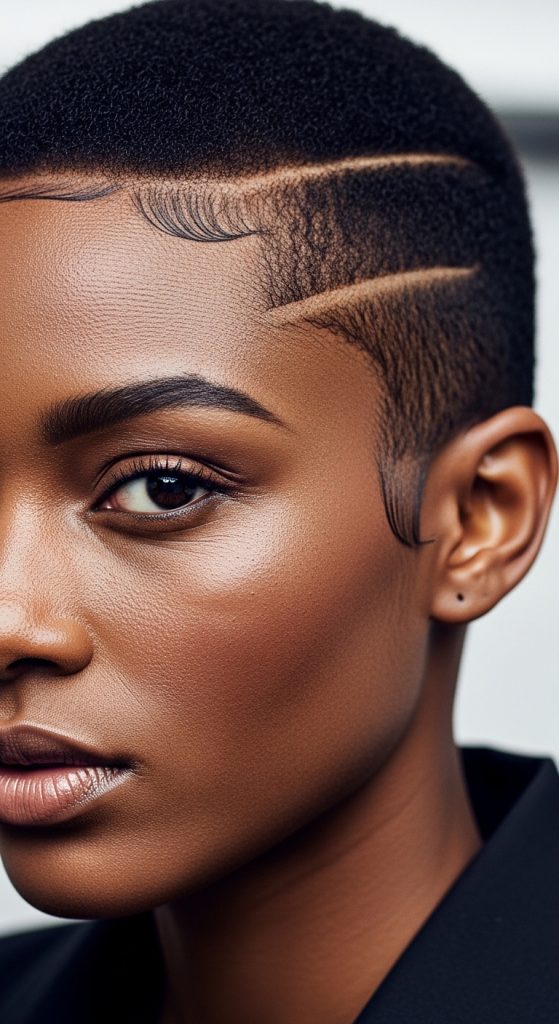
The tapered edge pixie focuses on clean edges and a gradual transition in length. This style emphasizes structure and precision, resulting in a sharp and refined appearance.
Use a brush to smooth the hair and apply an edge control product to define the hairline. Shape the hair to maintain the tapered effect. Finish with a spray. This ensures a neat and polished result.
Idea 6: Soft Layered Pixie
Step-by-Step Guide
The soft layered pixie introduces light layering to create movement and dimension. This style reduces heaviness and enhances flexibility.
Blow-dry the hair using a round brush to define the layers. Apply a lightweight product for hold. Finish with a spray. This ensures a soft and balanced look.
Idea 7: Wet Look Pixie
How to Make

The wet look pixie creates a sleek and glossy finish that reflects light evenly. This style is suitable for formal and modern settings.
Apply a styling gel evenly and comb the hair into shape. Smooth the surface and finish with a spray. This method ensures a consistent and polished appearance.
Idea 8: Defined Curl Pixie
Execution Process
The defined curl pixie focuses on creating clearly shaped curls that enhance texture and structure. This style provides a detailed and organized look.

Use a curl-defining product and shape each section carefully. Allow the hair to dry naturally. Finish with a spray. This ensures a defined and controlled result.
Idea 9: Minimalist Straight Pixie
How to Create

The minimalist straight pixie emphasizes simplicity and clean lines. This style aligns with modern design trends and offers a practical solution for daily styling.
Straighten the hair using a flat iron and comb through for alignment. Apply a light product for shine. This ensures a sleek and structured finish.
Idea 10: Highlighted Texture Pixie
Setup Method
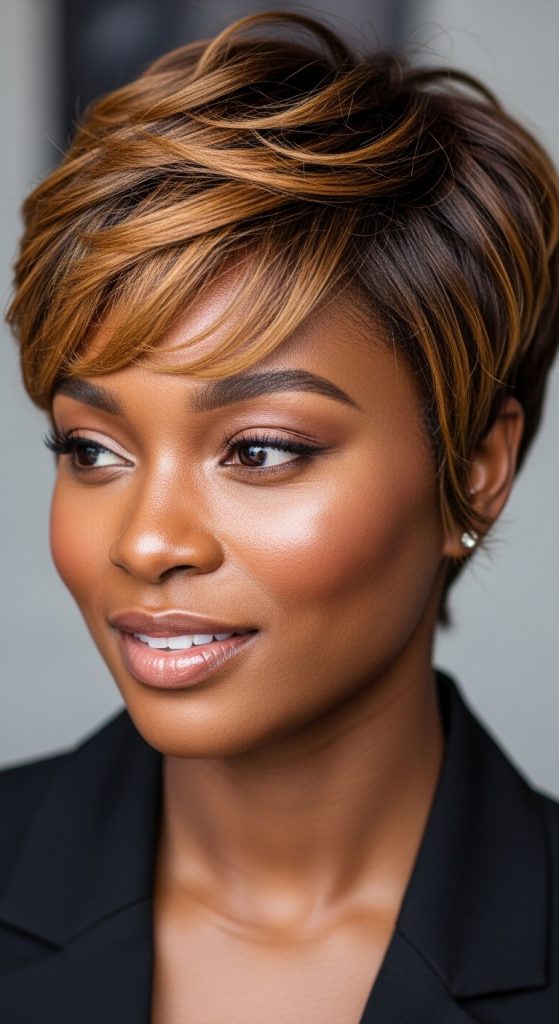
The highlighted texture pixie combines color variation with texture to create depth and visual interest. This style enhances the overall appearance through contrast.
Style the hair to emphasize textured sections and ensure even distribution of highlights. Finish with a light spray. This method ensures a dynamic and polished result.
Common Beginner Mistakes and How to Avoid Them
A common mistake is using excessive product, which can weigh down the hair and reduce definition. Another issue is uneven sectioning, leading to inconsistent results. Skipping preparation steps can also affect the outcome. To avoid these problems, use minimal product, section the hair carefully, and follow a structured approach.
Practical Tips for Better Results
Use clean tools and maintain consistent techniques. Practice styling regularly to improve efficiency. Adjust methods based on hair texture. These tips support reliable and consistent results.
Styling, Presentation, or Organization Ideas
Coordinate hairstyles with outfits and accessories for a cohesive appearance. Keep tools organized to streamline the process. Maintain a clean and balanced presentation.
Budget or Time Planning
Choose styles that match available time and resources. Use basic materials to reduce cost. Plan the styling process to avoid delays.
Creative Expansion and Advanced Inspiration
Experiment with combining techniques such as layering and curl definition. Explore variations to create personalized styles. This approach supports ongoing creativity and improvement.