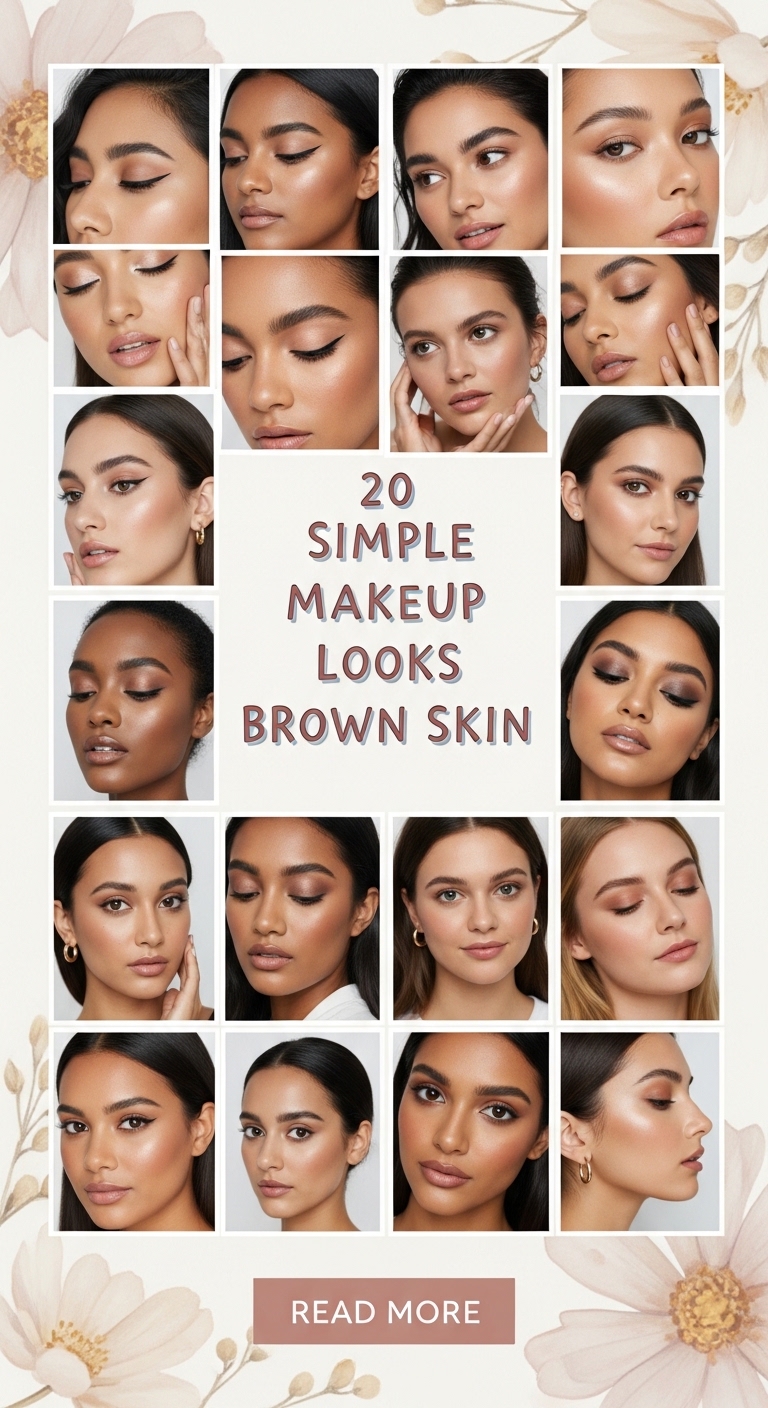
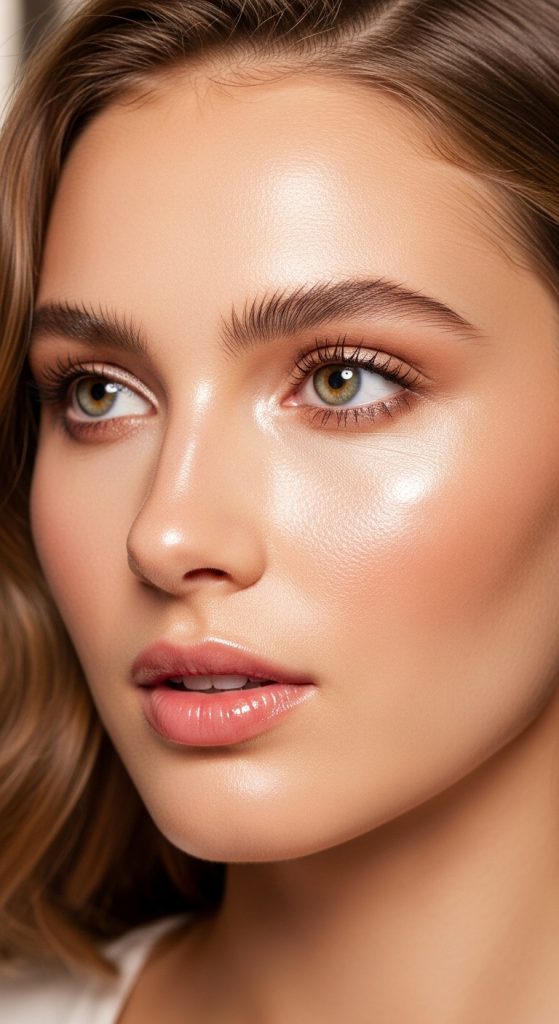
Natural makeup has become one of the most powerful beauty movements of the modern era. Instead of hiding the face, natural makeup techniques focus on enhancing what is already there — healthy skin, balanced features, soft color, and effortless glow. The goal is not transformation but refinement. This approach celebrates real texture, real skin, and real beauty while still delivering a polished, camera-ready appearance. It’s the kind of makeup that makes people say, “You look fresh,” rather than “You’re wearing a lot of makeup.”

Pinterest trends consistently show a strong preference for soft glam, no-makeup makeup, skin-first beauty, and minimalist routines. People want techniques that are wearable in daily life, beginner-friendly, and time-efficient. Natural makeup is especially appealing because it works for workdays, school, travel, casual outings, and professional environments. It enhances confidence without feeling heavy.
Another reason natural makeup is so popular is versatility. The same core techniques can be adapted for different skin types, tones, and face shapes. A natural look does not mean boring — it means strategic. Placement matters. Blending matters. Skin preparation matters. When executed correctly, natural makeup looks luminous, intentional, and expensive even when using simple products.
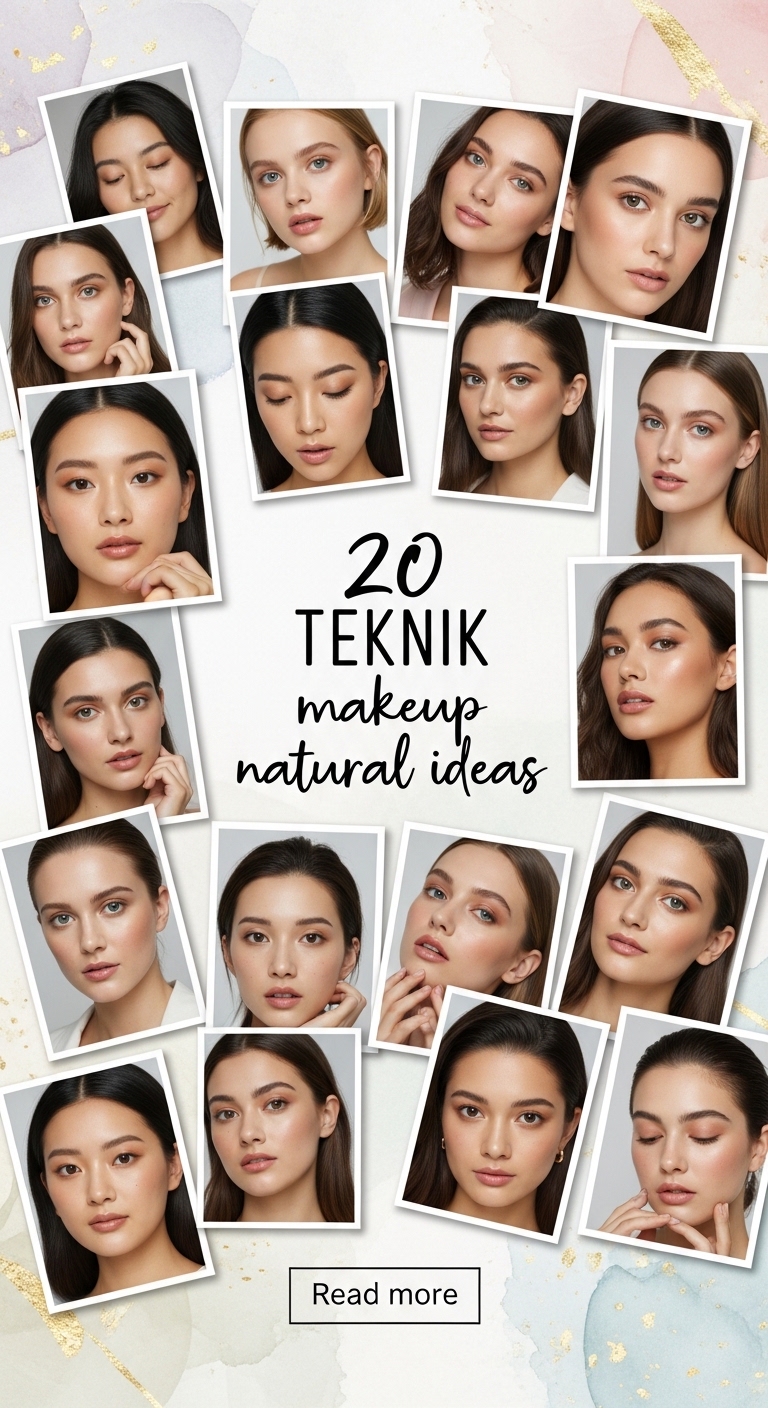
This guide focuses on practical, save-worthy techniques that anyone can learn. Each idea breaks down a specific natural makeup skill: complexion balancing, subtle contouring, soft eye enhancement, lip definition, and glow creation. These are not trends that disappear — they are foundational beauty skills that work forever. Mastering these techniques allows you to create endless variations of natural looks without needing dozens of products.
Every technique below is beginner-friendly and Pinterest-optimized. The structure is clear, step-by-step, and focused on real-life application. Whether someone is just starting with makeup or refining their routine, these ideas build a toolkit of skills that make beauty feel effortless. Natural makeup is not about doing less — it’s about doing the right things in the right places.
Now let’s explore the first 10 natural makeup techniques.
1. Skin-First Makeup Technique
The skin-first approach prioritizes skincare before makeup. This technique ensures that foundation sits smoothly, lasts longer, and looks like real skin instead of product layered on top. Healthy skin reduces the need for heavy coverage and allows natural texture to shine through.
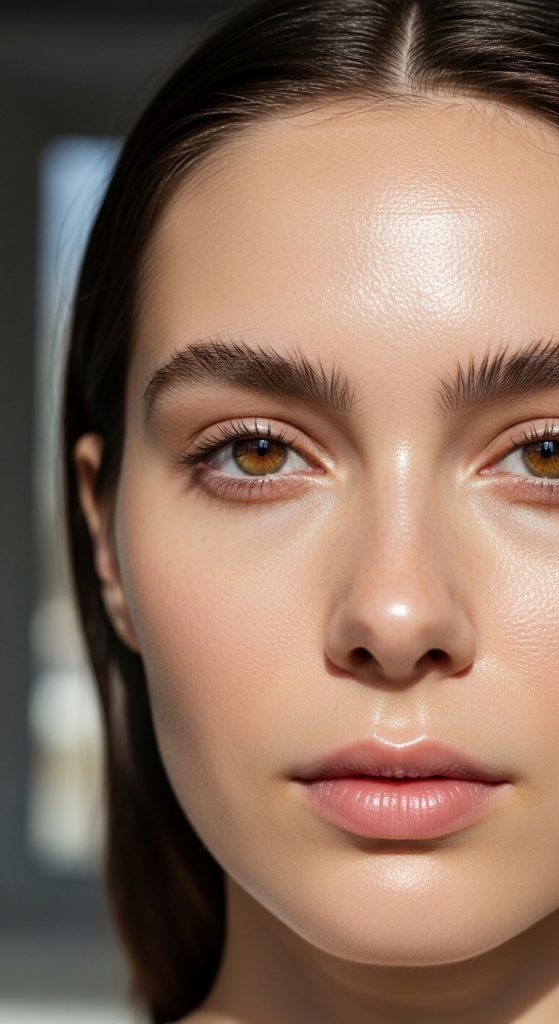
Natural makeup begins with hydration and balance. When skin is prepped correctly, less product is required. This technique is ideal for anyone who wants a radiant complexion without cakey buildup.
How to Do It
Cleanse gently. Apply hydrating toner or essence. Use moisturizer suited to your skin type. Add sunscreen. Let skincare absorb fully before makeup. Apply a lightweight base only where needed.
Materials Needed
- Gentle cleanser
- Moisturizer
- Sunscreen
- Hydrating serum
- Lightweight foundation or tint
2. Sheer Base Application
A sheer base evens skin tone without masking natural features. It allows freckles, texture, and glow to remain visible.

This technique replaces full coverage foundation with tint or diluted product. The result looks breathable and realistic.
How to Do It
Mix foundation with moisturizer. Apply thinly using fingers or sponge. Focus on center of face. Blend outward.
Materials Needed
- Foundation or skin tint
- Moisturizer
- Makeup sponge
3. Strategic Concealing
Instead of covering the entire face, concealer is used only where necessary. This prevents heaviness and maintains natural skin finish.
How to Do It
Apply concealer under eyes, around nose, and on blemishes. Blend edges softly. Avoid large triangles.
Materials Needed
- Cream concealer
- Small brush or sponge
4. Cream Blush Technique
Cream blush melts into skin and mimics natural flush. It adds life without powdery texture.
How to Do It
Tap blush onto apples of cheeks. Blend upward toward temples.
Materials Needed
- Cream blush
- Fingers or stippling brush
5. Soft Contour Placement
Natural contour enhances bone structure subtly. The goal is shadow, not stripes.
How to Do It

Apply contour lightly under cheekbones and along jaw. Blend thoroughly.
Materials Needed
- Cream contour
- Angled brush
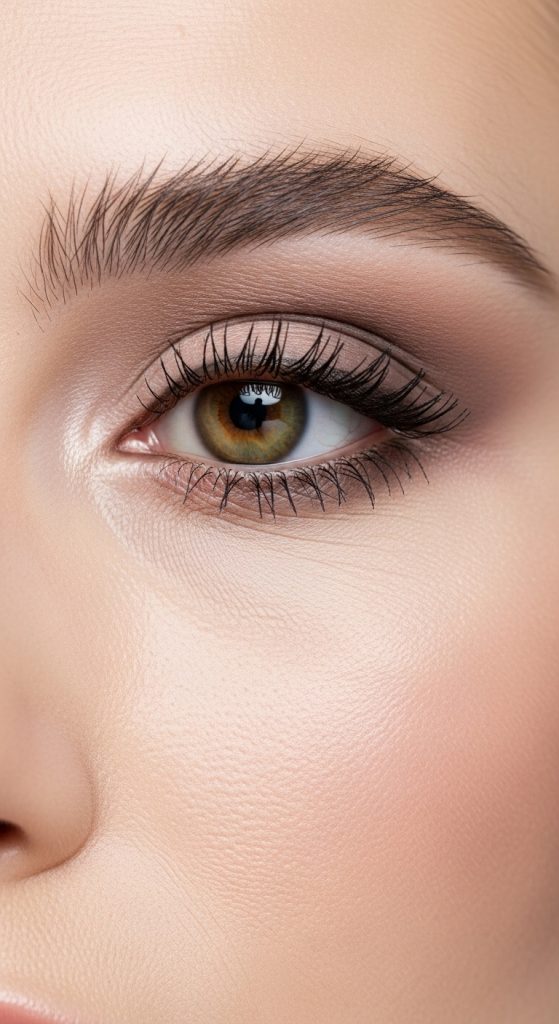
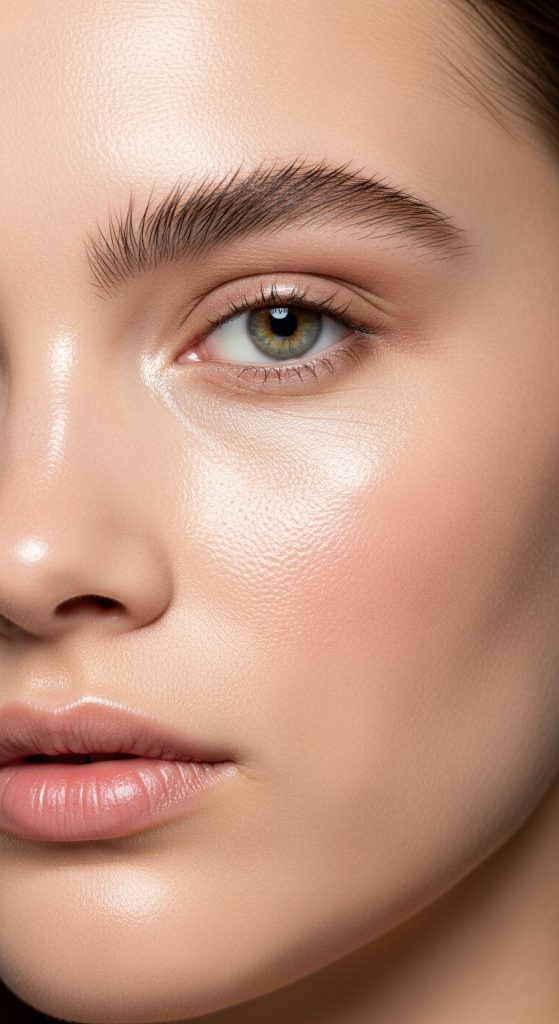
6. Brow Soft Fill

Natural brows look fluffy, not drawn. This technique enhances shape without harsh lines.
How to Do It
Use hair-like strokes to fill sparse areas. Brush upward.
Materials Needed
- Brow pencil
- Spoolie
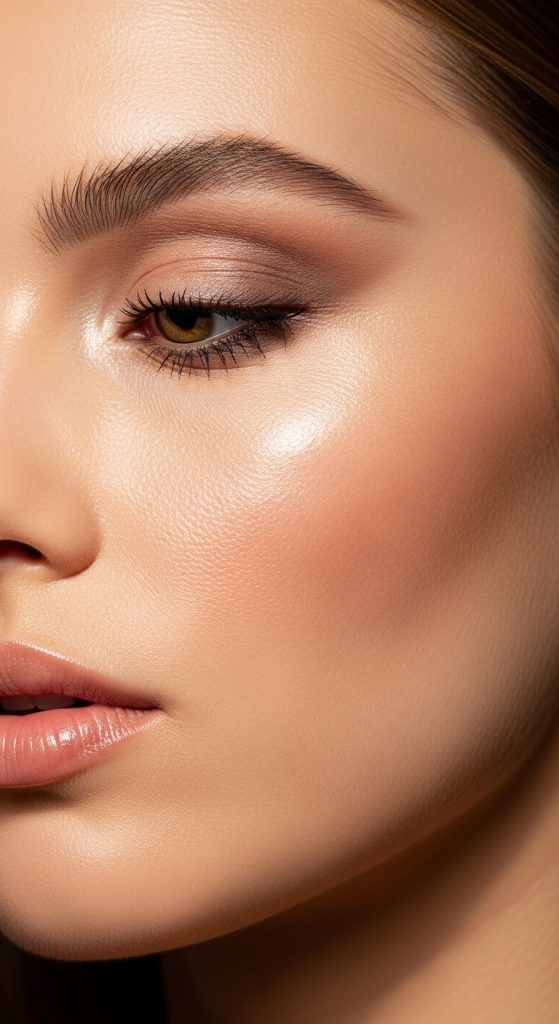
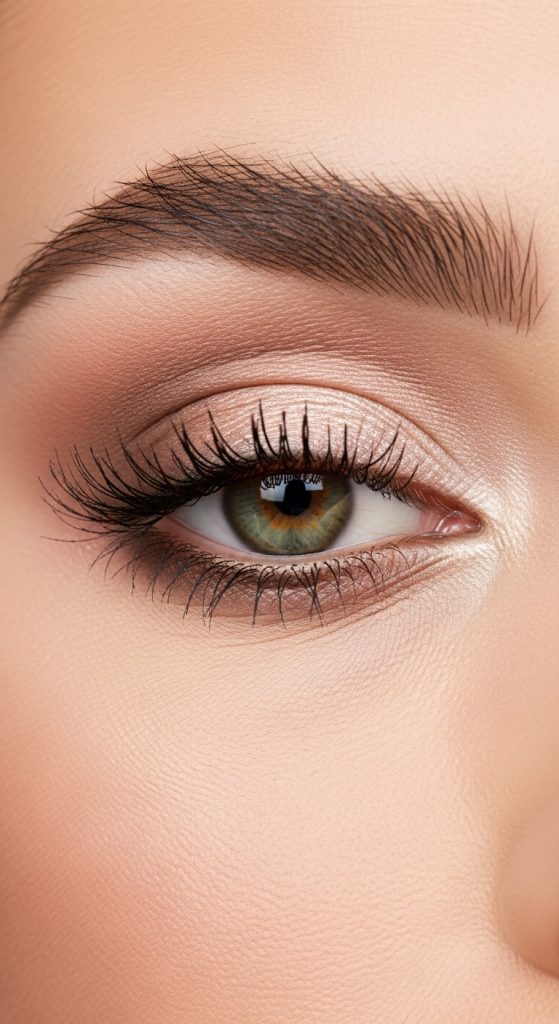
7. Minimal Eye Definition
Soft eye definition opens the eyes without heavy shadow.

How to Do It
Use neutral shadow in crease. Tightline upper lash line.
Materials Needed
- Neutral eyeshadow
- Pencil liner
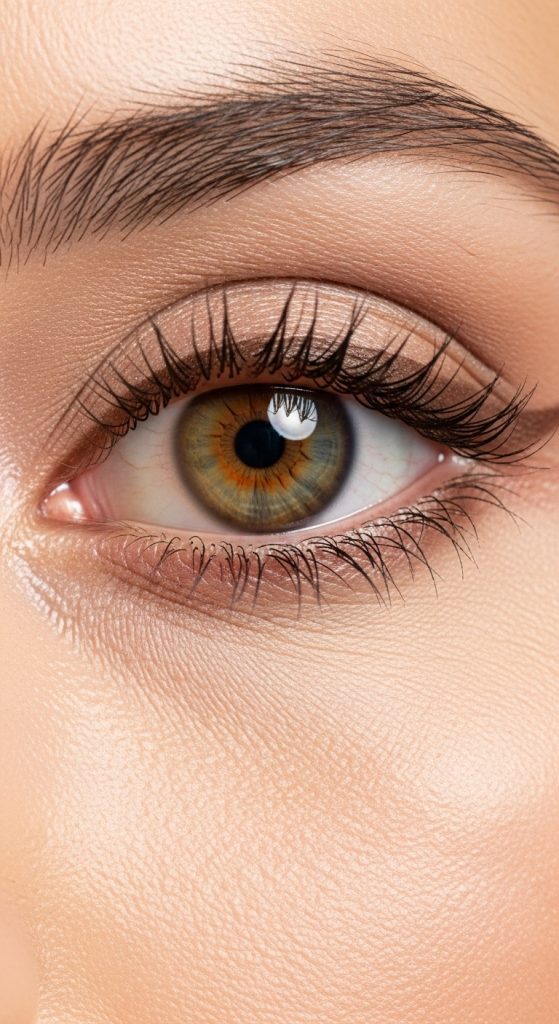
8. Lash Enhancement Without Clumps
Separated lashes look natural and awake.
How to Do It
Curl lashes. Apply one thin coat of mascara. Comb through.
Materials Needed
- Lash curler
- Mascara
- Lash comb
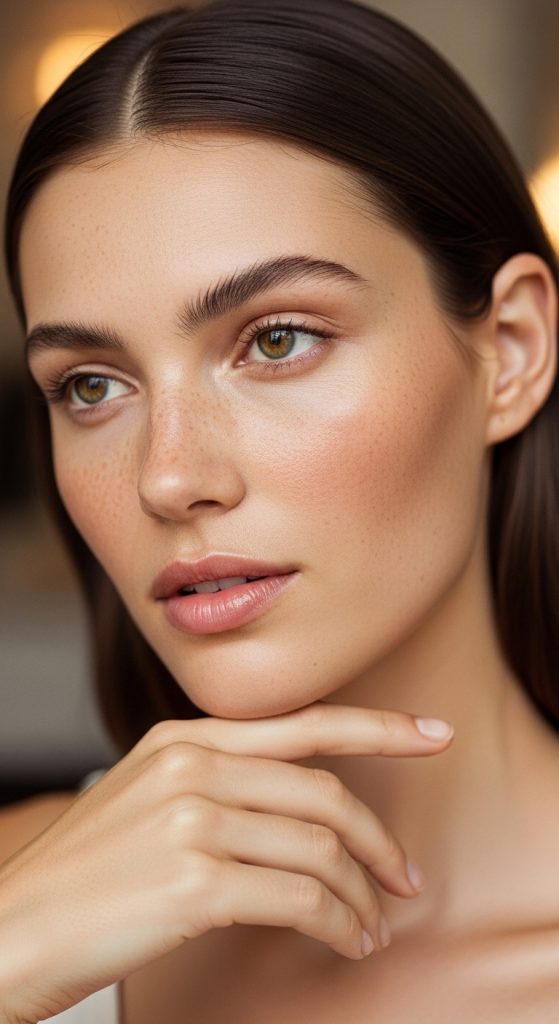
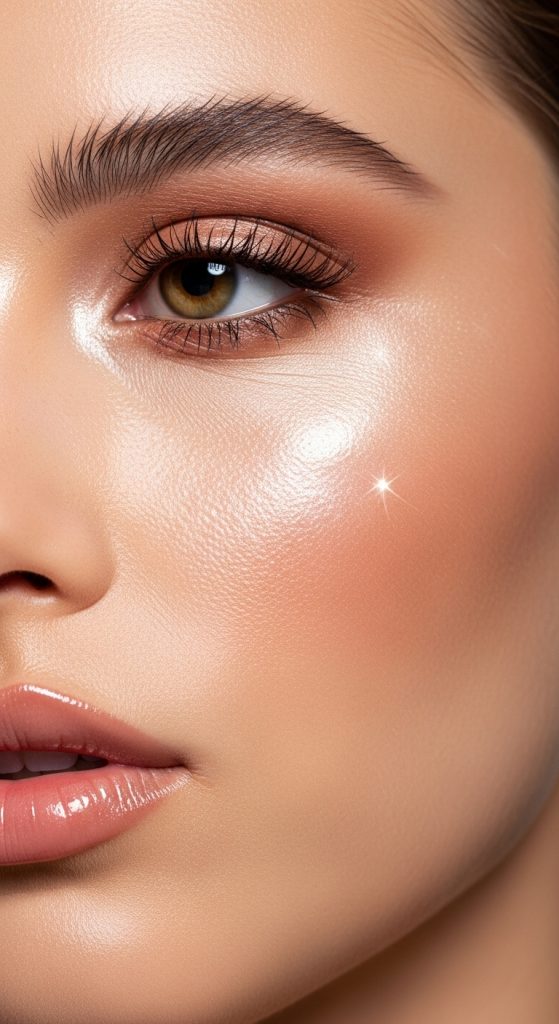
9. Natural Highlight Glow
Highlight should mimic skin sheen, not glitter.

How to Do It
Tap liquid highlight on cheekbones and brow bone.
Materials Needed
- Liquid highlighter
10. Blurred Lip Technique
Soft blurred lips look effortless and modern.
How to Do It
Apply lip tint in center. Blend edges with finger.
Materials Needed
- Lip tint
- Lip balm
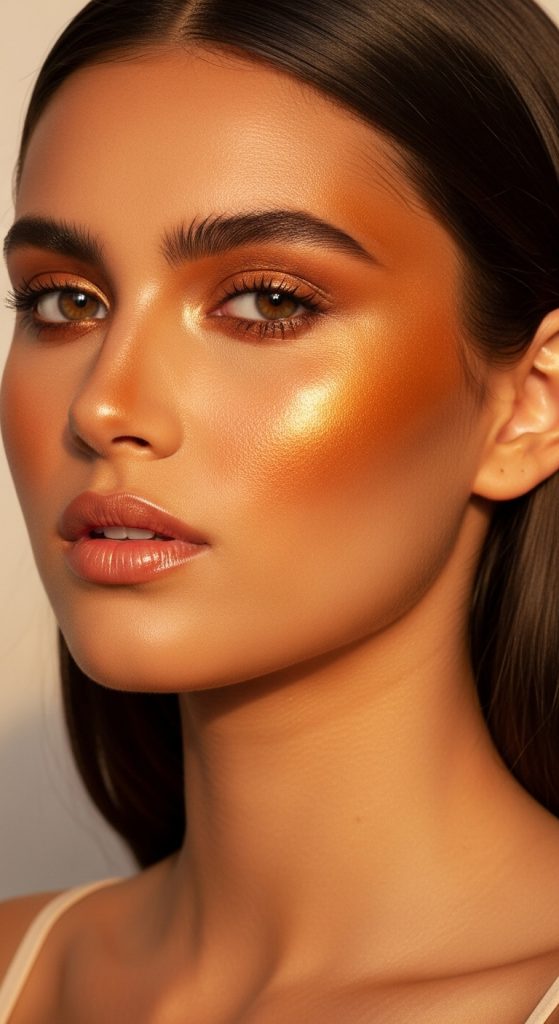
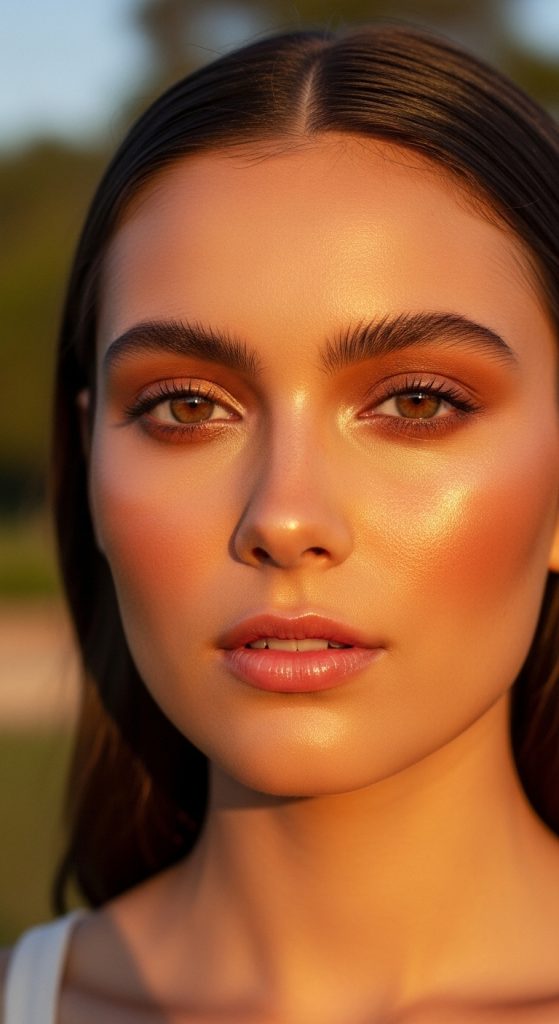
11. Cream Bronzer Warmth Technique
Cream bronzer adds warmth to the face in a way that looks sun-kissed rather than sculpted. Unlike heavy contour, bronzer is about bringing life back into the skin after foundation. A natural makeup look can sometimes appear flat if warmth is missing, and this technique restores dimension without harsh lines. Cream formulas blend seamlessly into skin and maintain a dewy finish that reads youthful and fresh.

This technique is perfect for everyday wear because it mimics a real tan rather than makeup. Placement is key — bronzer should hit the areas where the sun would naturally touch the face. When blended properly, it creates a healthy glow that enhances natural skin tone instead of overpowering it.
How to Do It
Use a cream bronzer two shades warmer than your skin. Apply lightly to temples, forehead edges, cheeks, and nose bridge. Blend with tapping motions. Keep placement high and diffused.
Materials Needed
- Cream bronzer
- Stippling brush or sponge
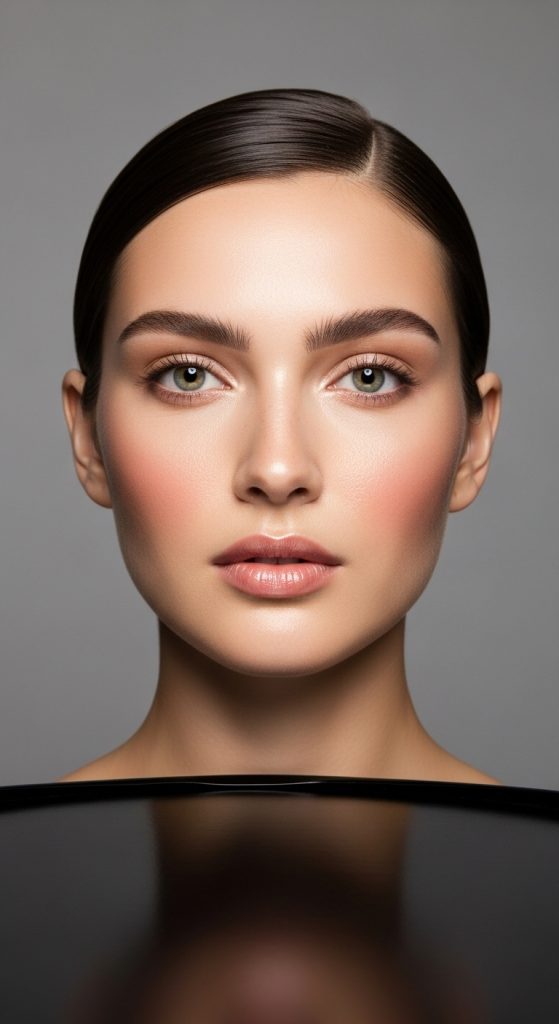
12. Monochromatic Makeup Harmony
Monochromatic makeup uses one color family across cheeks, eyes, and lips. This technique creates effortless cohesion and softness. When tones match, the face appears balanced and harmonious without looking overly styled. It’s one of the easiest ways to achieve a polished natural look.
This technique is beginner-friendly because it reduces decision fatigue. Peach, rose, or nude tones work beautifully for most skin tones. The effect is subtle yet intentional.
How to Do It
Choose one shade family. Apply cream blush to cheeks. Tap same color lightly on eyelids and lips. Blend thoroughly for seamless transitions.
Materials Needed
- Multi-use cream tint
- Fingers or brush
13. Soft Inner Corner Brightening
Brightening the inner corners of the eyes adds instant freshness and alertness. This small detail makes the face look awake without heavy shadow or liner. The key is using a subtle sheen rather than glitter.
This technique works for all ages and eye shapes. It mimics natural light reflection and opens the eyes.
How to Do It
Tap a tiny amount of satin highlight into inner corners. Blend edges gently so it melts into skin.
Materials Needed
- Satin highlighter
- Small detail brush
14. Feathered Brow Lift Technique

Feathered brows create a lifted, youthful effect. Instead of filling brows densely, hairs are brushed upward to mimic natural fullness. This technique enhances bone structure and frames the face softly.
It’s ideal for natural makeup because it prioritizes texture over pigment.
How to Do It
Brush brows upward with clear gel. Fill gaps lightly using hair-like strokes. Avoid outlining.
Materials Needed
- Brow gel
- Fine brow pencil
- Spoolie
15. Soft Waterline Enhancement
A harsh black waterline can overpower natural makeup. A soft neutral liner enhances lash density while keeping the look gentle. This trick subtly defines eyes without obvious makeup.
It’s perfect for professional environments and minimal looks.
How to Do It
Apply brown or nude pencil to upper waterline. Keep pressure light. Blend if needed.
Materials Needed
- Brown or nude eyeliner
16. Cream-to-Powder Set Balance
Natural makeup requires longevity without losing glow. Strategic powder placement locks makeup in place while preserving radiance.
The key is setting only areas that crease or shine.
How to Do It
Dust powder lightly under eyes and T-zone. Leave cheeks dewy. Use small brush.
Materials Needed
- Translucent powder
- Small fluffy brush
17. Natural Lip Line Enhancement
Defining the lip line subtly improves shape while keeping lips looking bare. This technique enhances symmetry without obvious liner.
It makes lips appear fuller in a realistic way.
How to Do It
Use a nude pencil close to your lip color. Trace softly just inside natural line. Blend with finger.
Materials Needed
- Nude lip pencil
18. Soft Glow Setting Spray Finish
A glow setting spray melts makeup into skin. It removes powdery texture and creates a second-skin finish.
This technique is the final step that makes makeup look professional.
How to Do It
Mist spray from arm’s length. Press gently with sponge.
Materials Needed
- Glow setting spray
- Sponge
19. Natural Under-Eye Brightening
Bright under-eyes should look rested, not concealed heavily. The goal is light reflection, not thick coverage.
This technique keeps expression lines visible but softened.
How to Do It

Apply tiny dots of brightening concealer. Blend upward. Set lightly.
Materials Needed
- Brightening concealer
- Small sponge
20. Barely-There Eyeshadow Wash
A sheer wash of color adds depth without obvious shadow. It enhances eye shape subtly.
This technique replaces full eye looks with softness.
How to Do It
Use fluffy brush to sweep neutral shade across lid. Blend edges into crease.
Materials Needed
- Neutral eyeshadow
- Fluffy brush