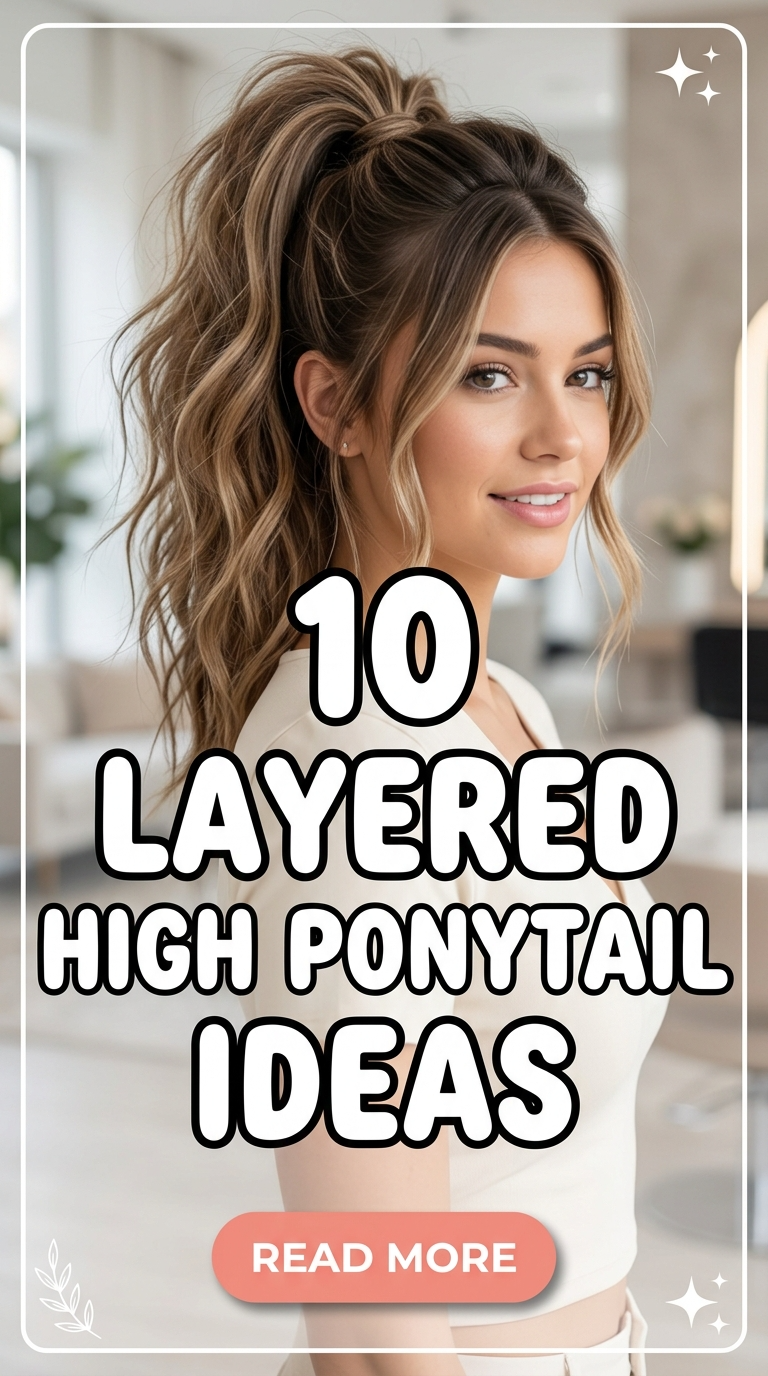
10 Feathered Shag Hairstyles Medium Over 50 Ideas
Introduction
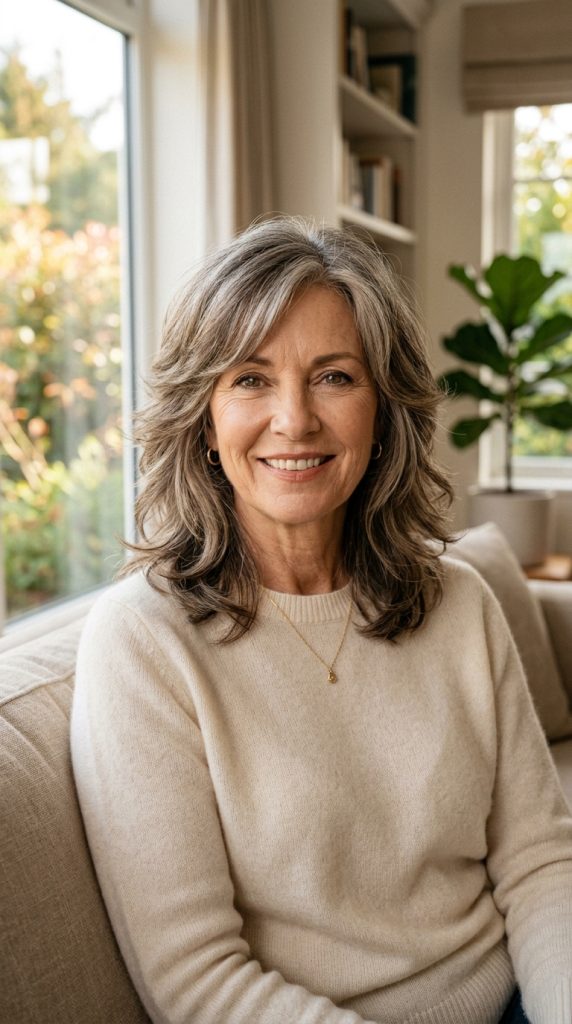
Feathered shag hairstyles for medium-length hair over 50 combine layered structure with soft texture to create a balanced and manageable look. This hairstyle is widely featured in Pinterest ideas because it blends movement with control, making it suitable for everyday wear and special occasions. A feathered shag is defined by layered cuts that create light, airy ends while maintaining volume at the crown. For individuals over 50, this style supports ease of maintenance while enhancing natural texture and shape. In this article, readers will learn how to create different variations of feathered shag hairstyles using step by step methods. Each idea focuses on practical cutting techniques, styling methods, and long-term maintenance. These creative ideas are beginner friendly and adaptable to different hair textures and densities. With proper planning and execution, feathered shag hairstyles provide a functional and aesthetic solution that aligns with modern design preferences and supports a polished appearance.
Why This Idea Is Trending or Useful
Feathered shag hairstyles are trending because they offer a combination of texture, volume, and natural movement that aligns with modern Pinterest inspiration. This style provides practical value by reducing heaviness while maintaining structure, making it easier to manage medium-length hair. The layered design distributes volume evenly, preventing the hair from appearing flat or overly dense. These creative ideas are accessible because they rely on simple cutting techniques and basic styling tools. The DIY appeal is strong when supported by clear tutorials and step by step guidance. Feathered shag styles also align with minimalist style preferences by maintaining a clean yet textured appearance. For individuals over 50, this hairstyle supports both comfort and visual balance by softening facial features and enhancing natural flow. The adaptability of this style makes it suitable for different occasions, contributing to its continued popularity in modern hair trends.
Materials and Preparation
Proper preparation is essential for achieving a balanced feathered shag hairstyle. Begin by washing and conditioning the hair to create a clean base. Use a heat protectant if styling tools will be applied. Common materials include scissors, a comb, hair clips, a round brush, and a blow dryer. Sectioning the hair is important to ensure even layering and control during cutting. Planning should include determining the desired length and placement of layers. Medium-length hair works well with gradual layering that creates a feathered effect without removing too much volume. Hair should be slightly damp during cutting to allow precision. Blow drying with a round brush helps define the feathered layers by directing them outward or inward. Consider natural hair texture when planning the style, as this affects the final result. Light styling products can be used to maintain shape without adding weight. This preparation ensures a structured and manageable hairstyle.
Idea 1: Soft Feathered Shag with Side Layers
How to Create

A soft feathered shag with side layers focuses on creating gentle movement while maintaining a structured outline. This style uses layered cutting techniques that gradually reduce weight and create feathered ends. The side layers frame the face and add dimension without creating sharp edges. This design supports a natural flow that aligns with modern minimalist style preferences. The layers are distributed evenly throughout the hair, ensuring that volume is balanced from the crown to the ends. This approach enhances texture while keeping the hairstyle manageable. The side layering also helps soften facial features, creating a polished and approachable appearance. This style is suitable for medium-length hair and works well with both straight and slightly wavy textures. The combination of soft layering and feathered ends creates a cohesive and structured look.
To achieve this style, section the hair and begin layering from the sides, gradually blending toward the back. Use scissors to create feathered ends by cutting at slight angles. Blow dry using a round brush to direct the layers outward. Adjust the side layers to ensure even framing. Apply a light styling product to maintain shape. This step by step process ensures a smooth and balanced result.
Idea 2: Layered Feathered Shag with Curtain Fringe
Step-by-Step Guide
A layered feathered shag with curtain fringe combines structured layering with a soft front section that frames the face. The curtain fringe is parted at the center and blends into the surrounding layers, creating a seamless transition. This design adds depth and movement while maintaining a balanced shape. The layered structure ensures that volume is distributed evenly, preventing the hair from appearing heavy. The curtain fringe softens the overall look and enhances facial framing. This style aligns with modern design trends that emphasize natural flow and clean structure. It is suitable for medium-length hair and supports both casual and formal styling.
To create this look, section the hair and cut layers starting from the crown, blending them downward. Create a curtain fringe by parting the front section and trimming it to frame the face. Blow dry using a round brush to shape the layers and fringe. Ensure smooth blending between sections. Apply a light hold product to maintain structure. This tutorial provides a beginner friendly method.
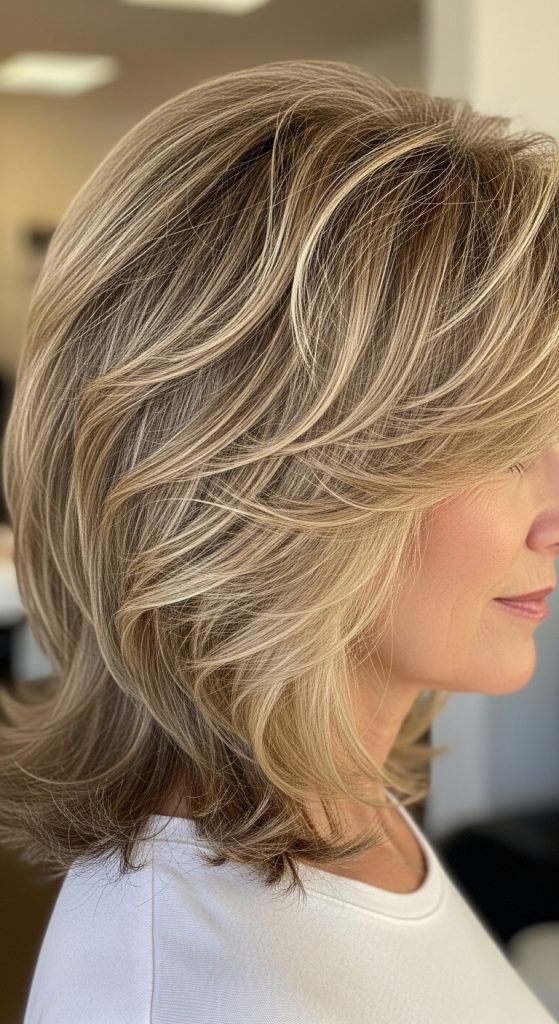
Idea 3: Textured Feathered Shag with Volume
How to Make
A textured feathered shag emphasizes volume and variation. This design enhances movement while maintaining structure.

To achieve this style, create uneven layers and blow dry for lift. Use light styling product to enhance texture. This method adds depth and dimension.
Idea 4: Minimalist Feathered Shag with Clean Lines
How to Create
A minimalist feathered shag focuses on simplicity and clean structure. This design reduces excessive layering while maintaining movement.

To create this style, use subtle layering and smooth blow drying techniques. Apply minimal product to maintain a refined appearance.
Idea 5: Feathered Shag with Soft Waves
Execution Process
Combining feathered layers with soft waves creates a textured and dynamic look. This design enhances natural movement.
To achieve this, create layers and use a curling tool to form waves. Brush lightly to blend the waves. This method ensures a balanced result.
Idea 6: Layered Shag with Subtle Lift
How to Make

A layered shag with subtle lift focuses on gentle volume at the crown. This design maintains structure while adding height.
To create this look, lift the roots while blow drying and define the layers. Apply light product for hold.
Idea 7: Feathered Shag with Side Part
Setup Method

A side part adds direction and variation to the feathered shag. This design enhances facial framing.
To achieve this style, part the hair to one side and shape the layers accordingly. Blow dry for smooth flow.
Idea 8: Soft Shag with Feathered Ends
How to Create

Soft shag with feathered ends focuses on light movement at the tips. This design reduces bulk while maintaining length.
To create this look, cut the ends at slight angles and blow dry to define the feathering. This method ensures a natural finish.
Idea 9: Medium Feathered Shag with Balanced Layers

Step-by-Step Guide
Balanced layers ensure even distribution of volume. This design creates a cohesive and structured look.
To achieve this, layer the hair evenly and blend carefully. Blow dry to define the shape. This approach maintains consistency.
Idea 10: Sleek Feathered Shag with Polished Finish
How to Create

A sleek feathered shag emphasizes smoothness and precision. This design creates a clean and refined appearance.
To achieve this style, straighten the hair slightly and refine the feathered ends. Apply finishing product for shine.
Common Beginner Mistakes and How to Avoid Them
A common mistake is over-layering, which removes too much volume and disrupts balance. Another issue is uneven blending, resulting in inconsistent texture. Using excessive styling product can weigh down the hair and reduce movement. Beginners may also ignore natural hair texture, leading to poor results. To avoid these problems, layer gradually and blend carefully. Use minimal product and follow natural hair patterns. This ensures a balanced and manageable hairstyle.
Practical Tips for Better Results
For better results, maintain consistent layering and use proper tools. Work in sections and avoid rushing the process. Use light styling products to preserve movement. Regular trims help maintain shape.
Styling, Presentation, or Organization Ideas
Organize sections before styling to maintain efficiency. Use clips to separate areas and create a structured workflow. Maintain consistent direction when styling layers. This approach supports a clean presentation.
Budget or Time Planning
Plan the styling process in stages to manage time effectively. Use available tools and avoid unnecessary purchases. Focus on essential steps such as layering and shaping. This ensures efficient execution.
Creative Expansion and Advanced Inspiration
Advanced variations can include combining feathered shag styles with additional texture or subtle color variations. Experiment with volume and direction to create unique looks. These creative ideas allow customization while maintaining structure.